AET-H743-Basic Flight Controller
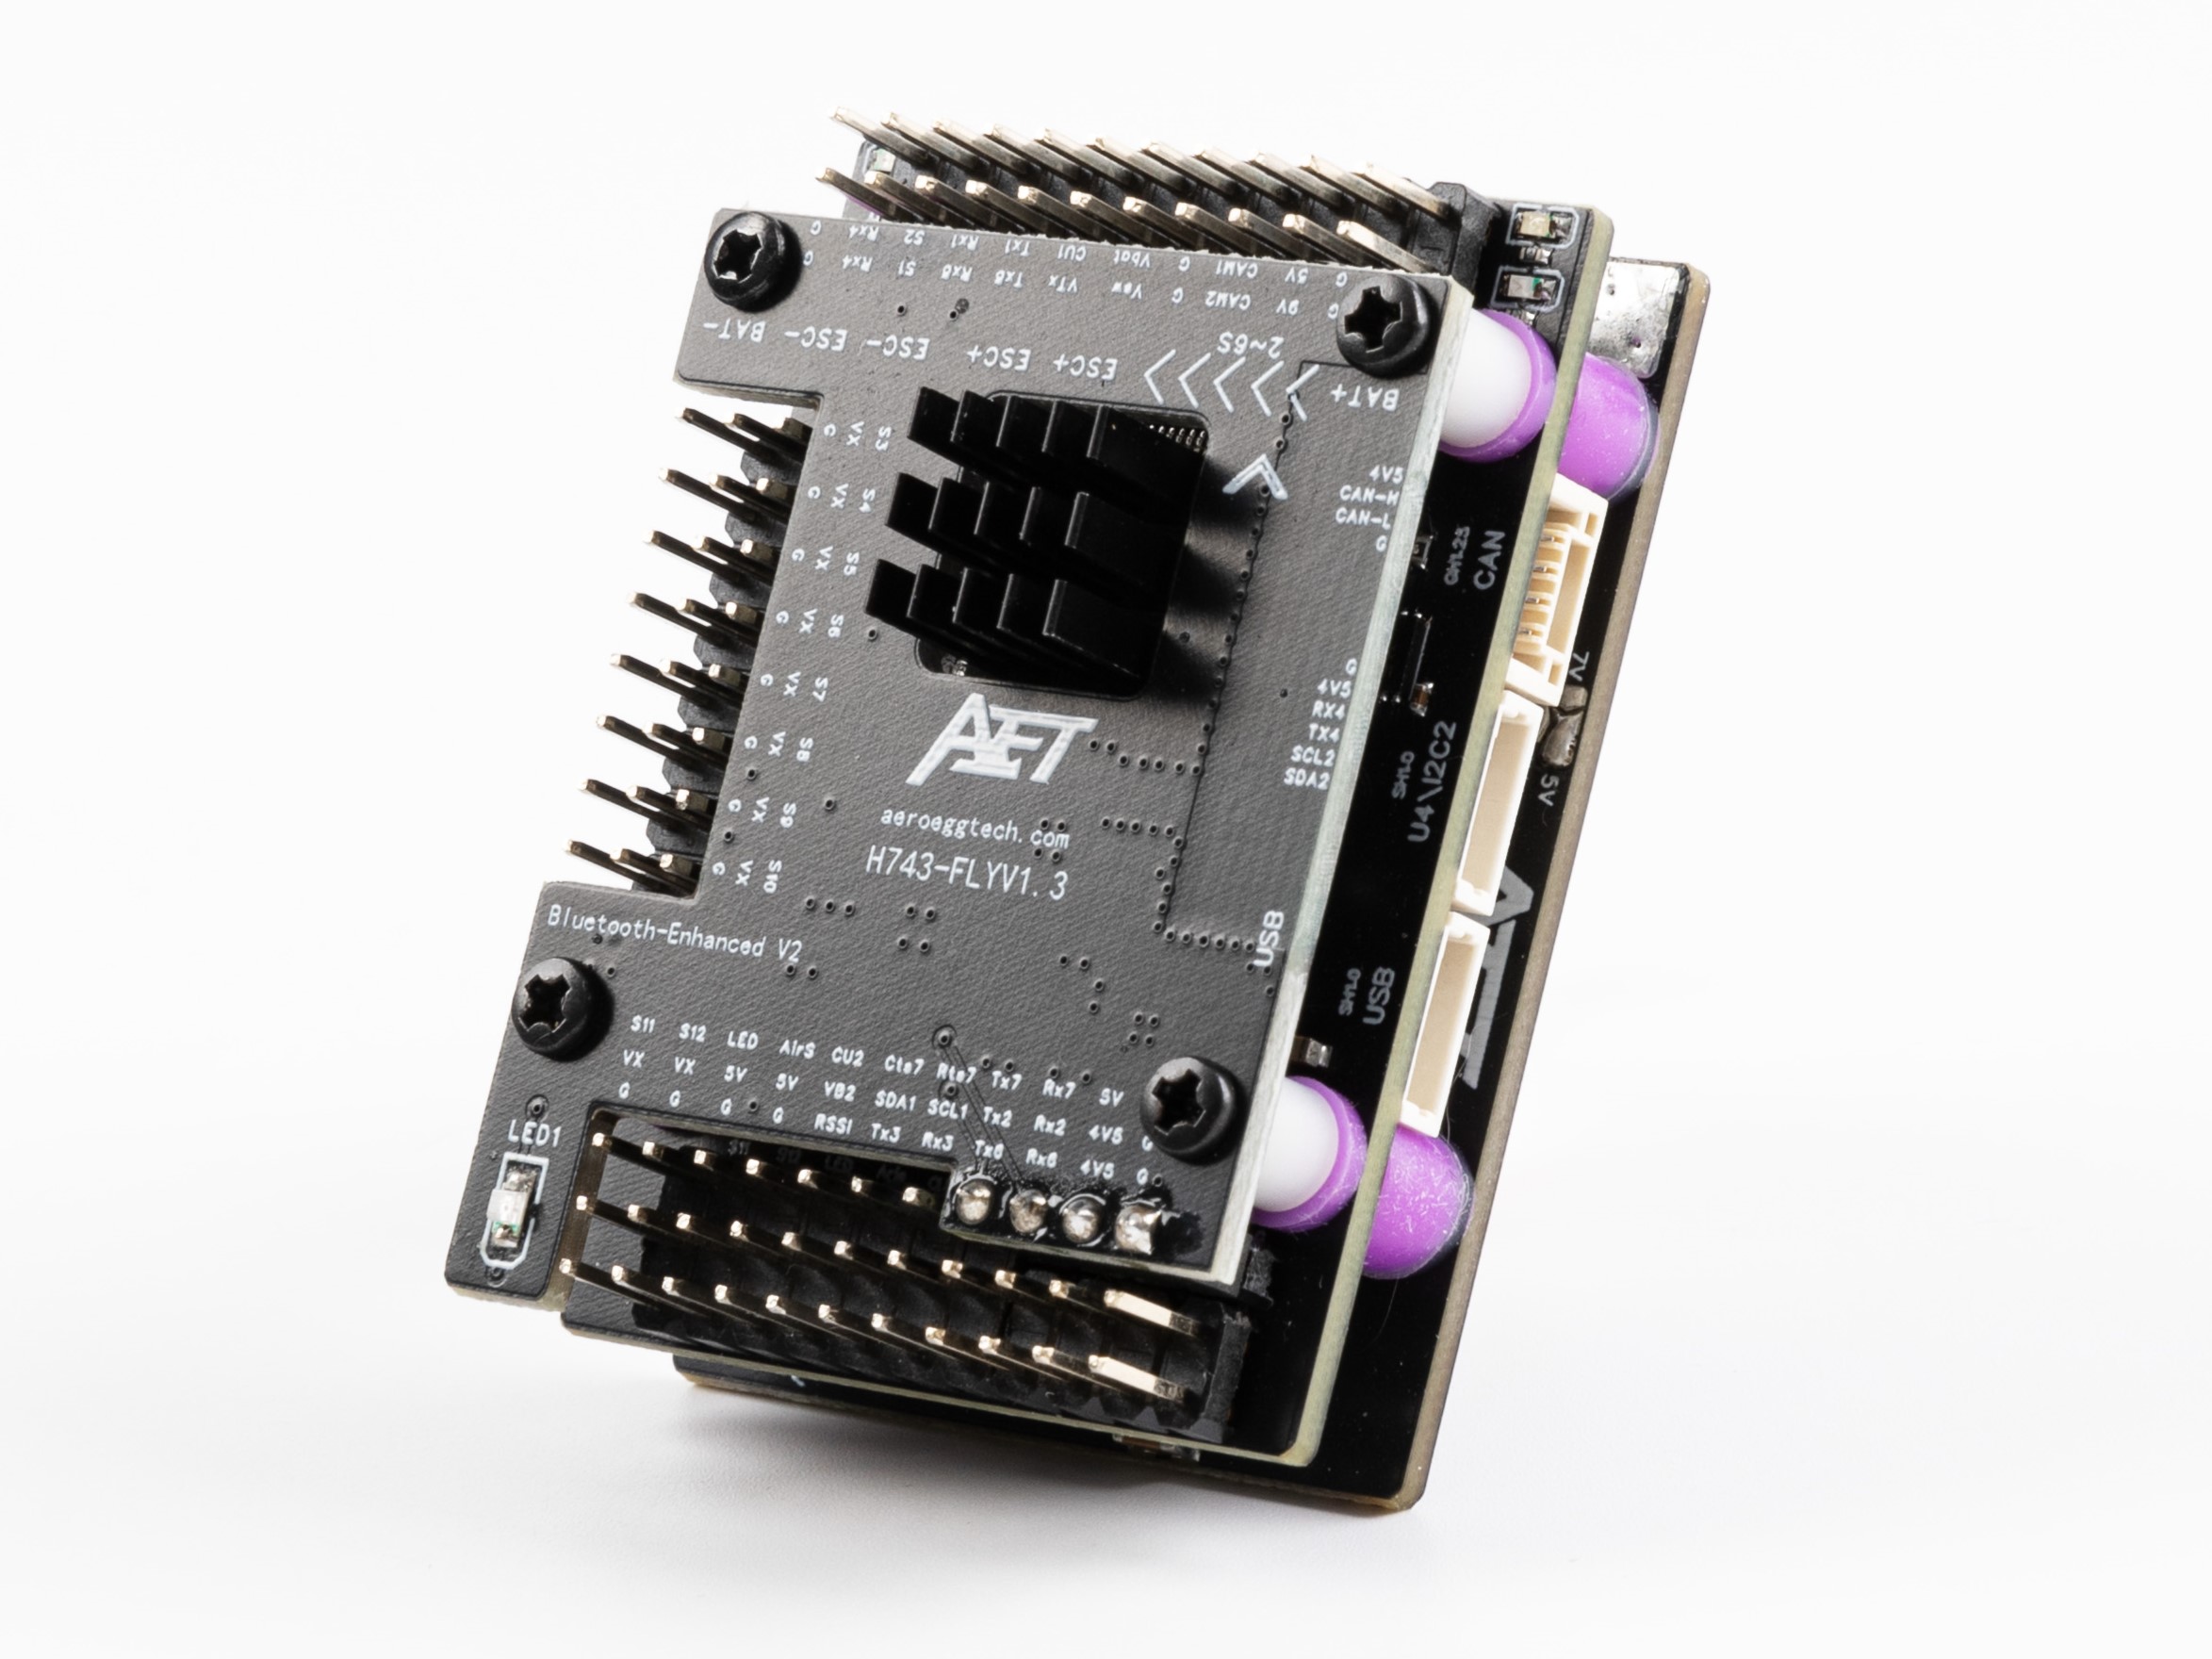
The AET-H743-Basic is a flight controller designed and produced by AeroEggTech

Features
STM32H743 microcontroller
Dual ICM42688P IMUs
13s PWM / Dshot outputs (13th is setup for serial LED)
8s UARTs, one with CTS/RTS flow control pins
1s CAN
Dedicated USB board
DPS310 or SPL06 barometer
5V/6V/7V 10A Servo rail BEC
9V 2A BEC for VTX, GPIO controlled
5V 4A BEC
MicroSD Card Slot
Selectable dual camera input
AT7456E OSD
2x I2Cs
Integrated power monitor
Mechanical
Dimensions: 36 x 47 x 17 mm
Weight: 45g
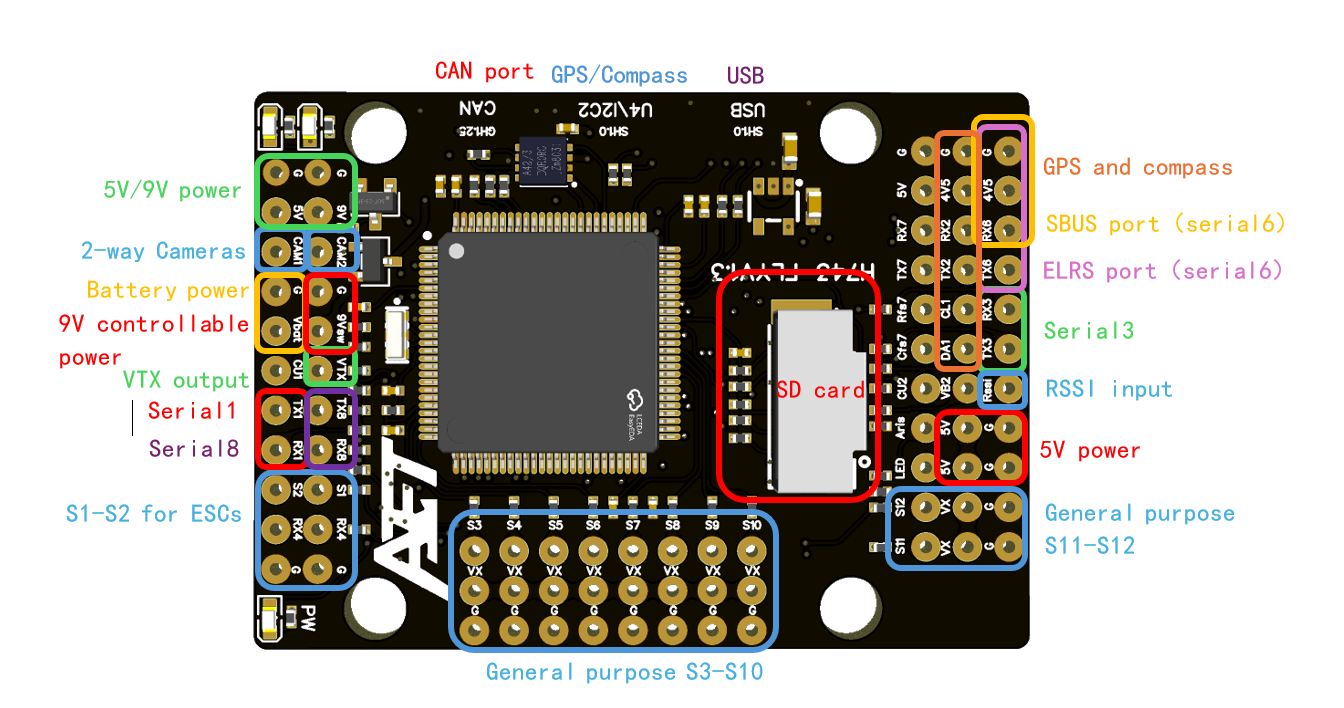
Pinouts


Power
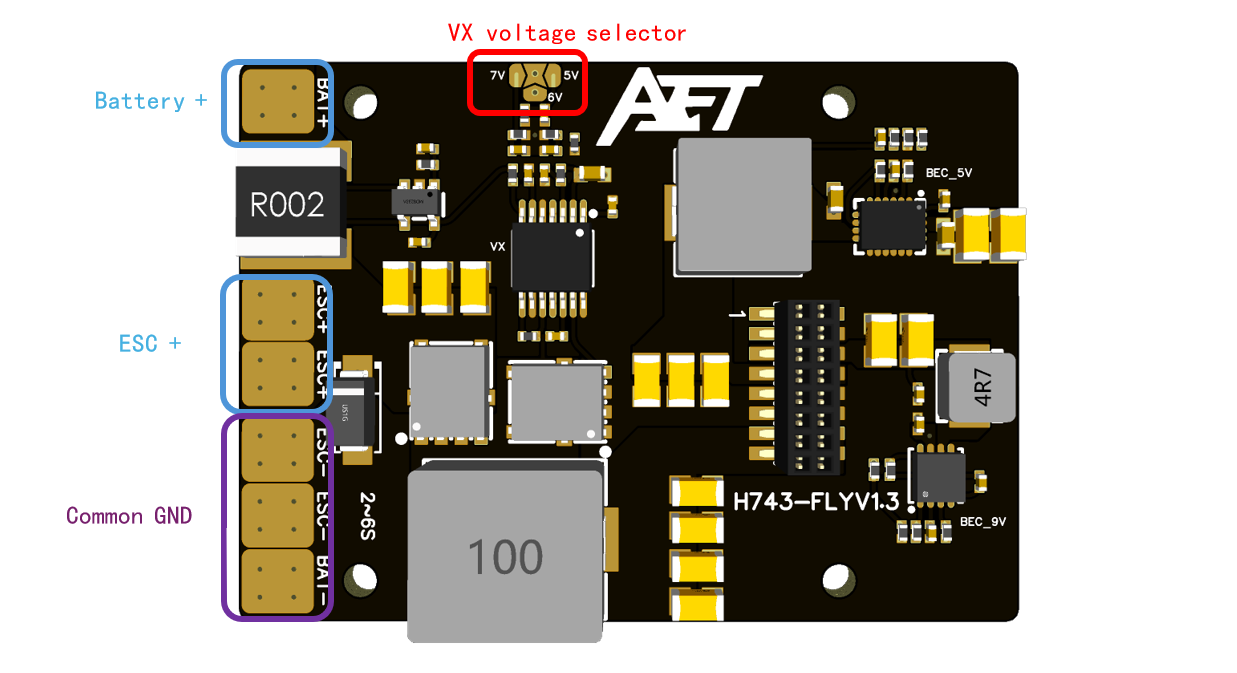
The AET-H743-Basic supports 2-6s Li battery input. It has 3 BECs, which result in power outputs:
Power symbol |
Power source |
Max power (current) |
|---|---|---|
5V |
from 5V BEC |
20W (4A) |
9V |
from 9V BEC |
18W (2A) |
9Vsw |
from 9V BEC, controlled by MCU with an NPN MOS |
10W (1A) |
4V5 |
from USB or 5V BEC, with a diode |
5W (1A) |
VX |
from Servo rail VX BEC, default 5V, can be changed to 6V or 7V |
50W (10A) |
BAT |
directly from battery |
(5A) |
UART Mapping
All UARTs are DMA capable. The UARTs are marked Rn and Tn in the above pinouts. The Rn pin is the receive pin for UARTn. The Tn pin is the transmit pin for UARTn.
SERIAL0 -> USB
SERIAL1 -> UART1 (MAVLink2)
SERIAL2 -> UART2 (GPS)
SERIAL3 -> UART3 (MAVLink2)
SERIAL4 -> UART4 (GPS2, RX4 is also available as ESC telem if protocol is changed for this UART)
SERIAL5 -> USB (SLCAN)
SERIAL6 -> UART6 (RCIN)
SERIAL7 -> UART7 (MAVLink2, Integrated Bluetooth module)
SERIAL8 -> UART8 (User)
Serial protocols shown are defaults, but can be adjusted to personal preferences.
RC Input
The default RC input is configured on the UART6 and supports all RC protocols except PPM. The SBUS pin is inverted and connected to RX6.
RC can be attached to any UART port as long as the serial port protocol is set to SERIALn_PROTOCOL=23 and SERIAL6_Protocol is changed to something other than ‘23’.
FPort requires connection to TX6. See ref:common-fport-receivers.
SRXL2 requires a connection to TX6 and automatically provides telemetry. Set SERIAL6_OPTIONS to “4”.
OSD Support
The AET-H743-Basic supports onboard analog SD OSD using a AT7456 chip. The analog VTX should connect to the VTX pin.
PWM Output
The AET-H743-Basic supports up to 13 PWM outputs.
All the channels support DShot.
Outputs are grouped and every output within a group must use the same output protocol:
1, 2 are Group 1;
3, 4, 5, 6 are Group 2;
7, 8, 9, 10 are Group 3;
11, 12 are Group 4;
13(LED) is Group 5;
Output 13 is configured by default parameters to be used as LED neopixel output, but can be changed.
Battery Monitoring
The board has two internal voltage sensors and one integrated current sensor, and a second external current sensor input.
The voltage sensors can handle up to 6S LiPo batteries.
The first voltage/current sensor is enabled by default and the pin inputs and voltage scale for the second, un-enabled sensor are also set by default:
BATT_MONITOR = 4
BATT_VOLT_PIN = 10
BATT_CURR_PIN = 11
BATT_VOLT_MULT = 11
BATT_AMP_PERVLT = 40
BATT2_VOLT_PIN = 18
BATT2_CURR_PIN = 7
BATT2_VOLT_MULT = 11
Compass
The AET-H743-Basic has no built-in compass, so if needed, you should use an external compass.
Analog cameras
The AET-H743-Basic supports up to 2 cameras, connected to pin CAM1 and CAM2. You can select the video signal to VTX from camera by an RC channel. Set the parameters below:
RELAY2_FUNCTION = 1
RELAY_PIN2 = 82
RC8_OPTION = 34
9V video power switch
The 9Vsw power supply can be controlled by an RC channel. Set the parameters below:
RELAY1_FUNCTION = 1
RELAY_PIN = 81
RC7_OPTION = 28
Bluetooth
The AET-H743-Basic support both legacy bluetooth SPP and BLE serial. The bluetooth uses UART7 as serial port. Search for AET-H743-SPP or AET-H743-BLE to connect.
Note: you need to connect a battery to the board to power the bluetooth module.
Loading Firmware
Initial firmware load can be done with DFU by plugging in USB with the bootloader button pressed. Then you should load the “with_bl.hex” firmware, using your favorite DFU loading tool, such as Mission Planner.
Once the initial firmware is loaded you can update the firmware using any ArduPilot ground station software. Updates should be done with the “*.apj” firmware files.