Copter SITL/MAVProxy Tutorial
This tutorial provides a basic walk-through of how to use SITL and MAVProxy documentation for Copter testing.
Overview
The article is intended primarily for developers who want to test new
Copter builds and bug fixes using SITL and MAVProxy. It shows how to
take off, fly in GUIDED mode, run missions, set a geofence, and
perform a number of other basic testing tasks.
The tutorial is complementary to the topic Using SITL for ArduPilot Testing.
Note
We use MAVProxy here, but you can attach another ground station to SITL if you prefer (similar instructions can be used in any GCS).
This tutorial is for Copter - see Plane and Rover for similar tutorials on the other vehicles.
Preconditions
The tutorial assumes you have already set up SITL on Windows or
Linux and that you have started SITL
using the --map and --console options:
cd ~/ardupilot/ArduCopter
../Tools/autotest/sim_vehicle.py --map --console
Note
If you wish to start the simulation at a different map location or use a different frame type (-f option for hexa,tri,octa,heli,etc.) than a standard + layout quadcopter, see SITL Advance Testing. A complete list of startup options for the simulator can be found using the –help option:
sim_vehicle.py --help
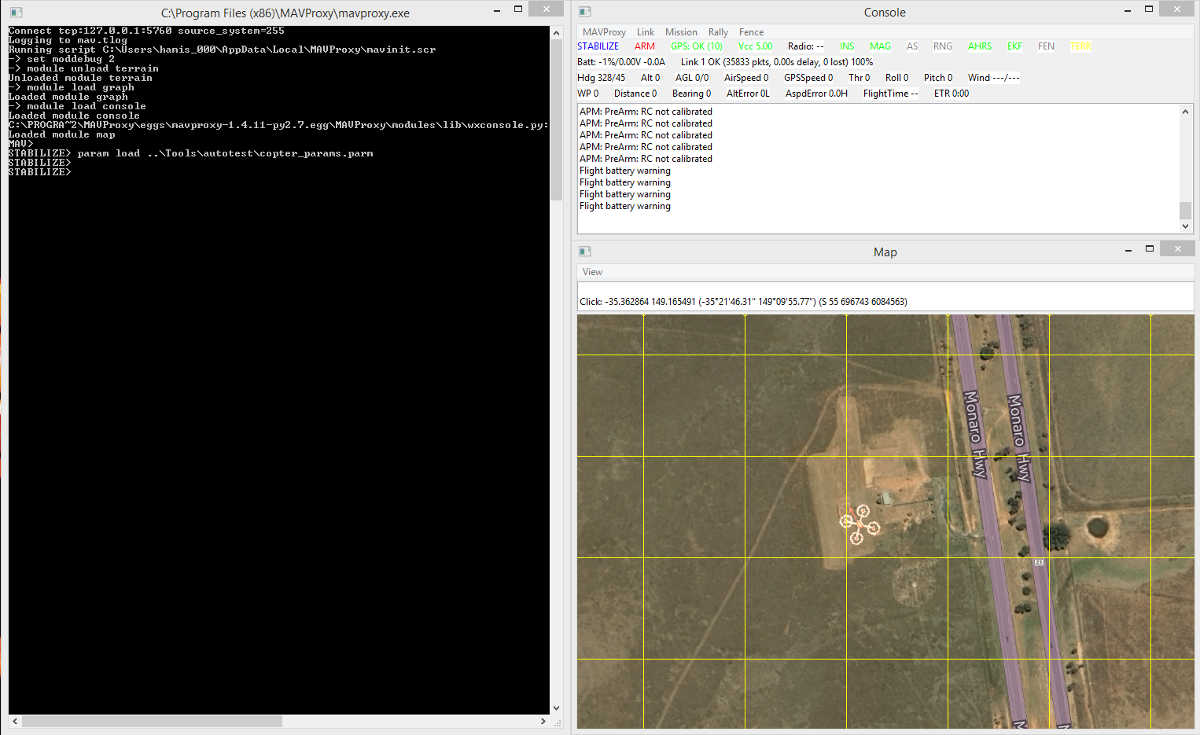
The MAVProxy Command Prompt, Console and Map should be arranged conveniently so you can observe the status and send commands at the same time.
Taking off
This section explains how to take off in GUIDED mode. The main steps
are to change to GUIDED mode, arm the throttle, and then call the
takeoff command. Takeoff must start within 15 seconds of arming, or
the motors will disarm!
Note
Copter by default only supports takeoff in GUIDED mode.
if you want to take off in AUTO mode, you need to set AUTO_OPTIONS parameter to 3.
Enter the following commands in the MAVProxy Command Prompt.
mode guided
arm throttle
takeoff 40
Copter should take off to an altitude of 40 metres and then hover (while it waits for the next command).
Monitoring
During takeoff you can watch the altitude increase on the console in the Alt field.
Developers may find it useful to graph the takeoff by first entering
the gtakeoff command.
For the command to work, you need to set up the alias, the easiest way is to set up the MAVProxy startup script
and ensure that the graph module is loaded.
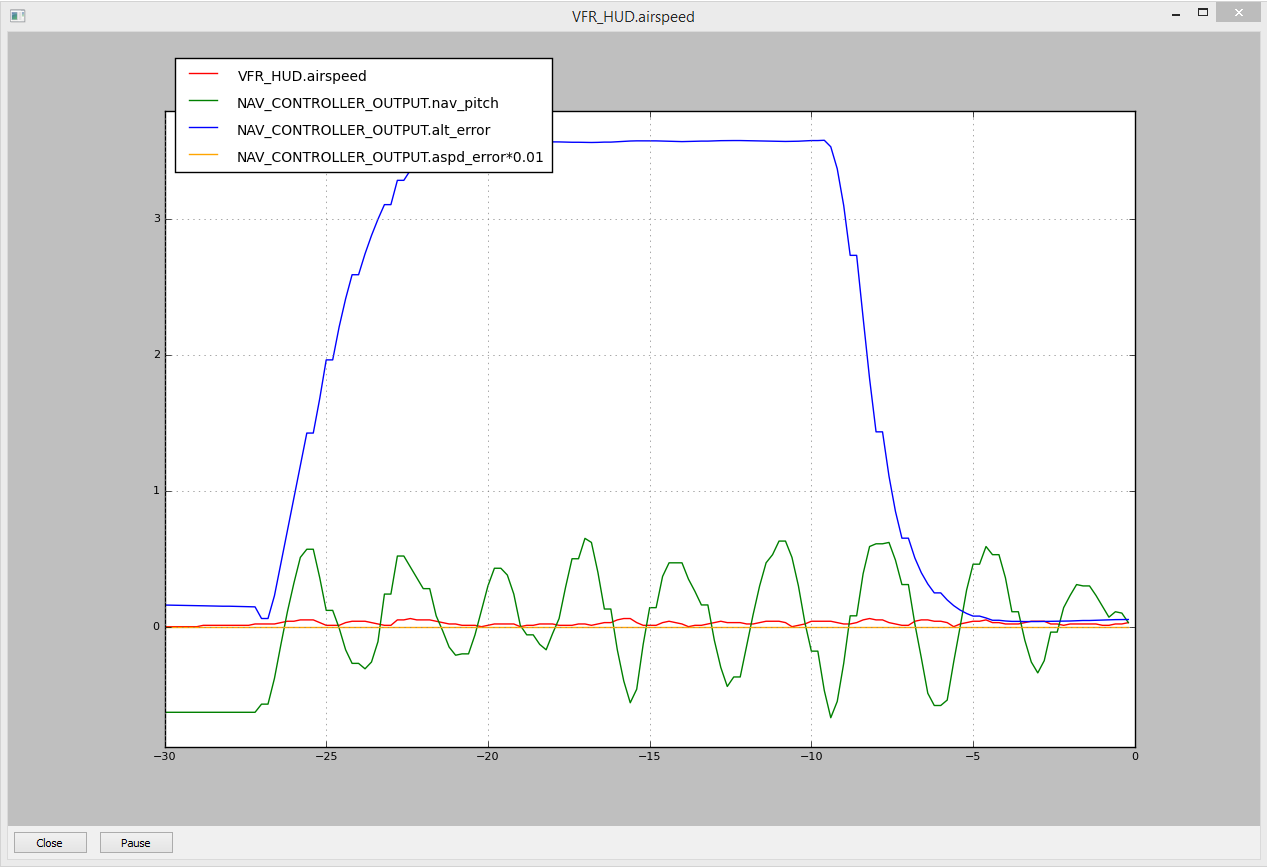
MAVProxy:Copter Takeoff Graph (gtakeoff)
Troubleshooting
The most common sources of difficulty taking off are:
Starting in any mode other than
GUIDED.Attempting to takeoff when the vehicle is not armed. This can happen if you call
takeofftoo slowly afterarm throttle, or if the vehicle fails pre-arm checks.
You can list all enabled checks using the command arm list:
LAND> arm list
LAND> all
params
voltage
compass
battery
ins
rc
baro
gps
You can enable and disable checks using arm check n and
arm uncheck n respectively, where n is the name of the check. Use
n value of all to enables/disable all checks.
Changing flight mode - circle and land
The command below shows how to put Copter into CIRCLE mode with a CIRCLE_RADIUS_M of 20m. This will fly the Copter in a circle at a constant altitude, with the front pointed towards the centre of the circle.
mode circle
param set circle_radius 2000
Note
If you set the CIRCLE_RADIUS_M to zero the vehicle will rotate in place.
Copter supports a number of other flight modes,
which you can list in MAVProxy using the mode command:
LAND> mode
LAND> ('Available modes: ', ['RTL', 'POSHOLD', 'LAND', 'OF_LOITER', 'STABILIZE', 'AUTO', 'GUIDED', 'DRIFT', 'FLIP', 'AUTOTUNE', 'ALT_HOLD', 'LOITER', 'POSITION', 'CIRCLE', 'SPORT', 'ACRO'])
As shown above, you can change the mode by specifying mode modename.
Many of the modes can be set by just entering the mode name, e.g.
rtl, auto, stabilize etc.
For example, to land right where you are you would use the command:
mode land. To return to the launch point and then land you would use
the command: rtl.
Guiding the vehicle
Once you’ve taken off you can move the vehicle around the map in
GUIDED mode. The easiest way to do this is to right-click on the map
where you want to go, select Fly to, and then enter the target
altitude.

MAVProxy: Fly toLocation
You can also enter the target position manually on the command line using the two formats below. If only the altitude is specified, the last specified LAT/LON will be used.
guided ALTITUDE
guided LAT LON ALTITUDE
In addition to takeoff, you can send the following commands in
GUIDED mode:
setyaw ANGLE ANGULAR_SPEED MODE  (MODE is 0 for "absolute" or 1 for "relative")
setspeed SPEED_VALUE
velocity x y z   (m/s)
Note
These commands correspond to MAV_CMD_NAV_TAKEOFF, MAV_CMD_DO_CHANGE_SPEED, MAV_CMD_CONDITION_YAW, SET_POSITION_TARGET_LOCAL_NED.
At time of writing, the other Copter Commands are not supported (MAVProxy #150)
Flying a mission
You can load a mission at any time using the wp load command. After
you’ve taken off the current mission will start as soon as you change to
AUTO mode.
The example below shows how to load and start one of the test missions, skip to the second waypoint, and loop the mission:
wp load ..\Tools\autotest\Generic_Missions\CMAC-circuit.txt
mode auto
wp set 2
wp loop
The MAVProxy Waypoints documentation lists the full set of available commands (or you can get them using auto-completion by typing “wp” on the command line).
If you want to create a waypoint mission, this is most easily done on the map:
Right-click on the map and then select Mission | Draw.
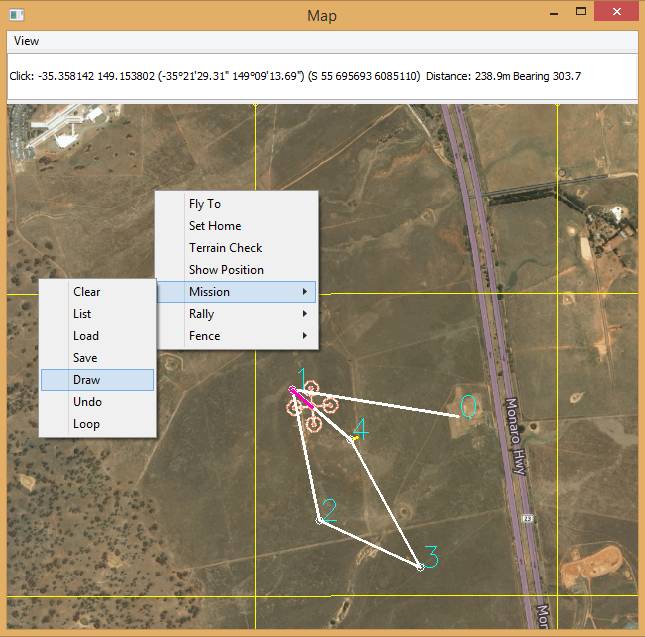
MAVProxy: Draw Mission Menu
Left-click on the map where you want the points to appear.
Note
Nothing visible will happen when you make the first click. After the second click, lines will join your points to show the path.
When you’re done, you can loop the mission by right-clicking on the map and selecting Mission | Loop.
This approach only allows you to create
MAV_CMD_NAV_WAYPOINT
commands. You can edit missions and use other commands on Linux using
the misseditor module (module load misseditor). This is currently
broken on Windows. It is also possible to load other types of commands
from files.
Setting a GeoFence
A GeoFence is is a virtual barrier that Copter uses to constrain the movement of the vehicle. Copter uses a simple “tin can border” as described in Simple GeoFence. When the radius or maximum altitude is breached, Copter returns to the launch point and/or lands.
The fence is enabled (and its type selected) using the FENCE_ parameters.
You can list the fence parameters with param show:
GUIDED> param show fence*
GUIDED> FENCE_ACTION     1.000000
FENCE_ALT_MAX    100.000000
FENCE_ENABLE     0.000000
FENCE_MARGIN     2.000000
FENCE_RADIUS     150.000000
FENCE_TYPE       3.000000
The fence has an altitude boundary of 100 metres (FENCE_ALT_MAX) and is bound by a circle of radius FENCE_RADIUS around the home location. The FENCE_TYPE = “3” means that both the radius and altitude are used (you can change the type to other numbers have an altitude-only or circle only fence - or none at all). FENCE_ENABLE The fence is initially disabled (FENCE_ENABLE = 0). To turn it on we set the value to one:
GUIDED> param set fence_enable 1
When we fly outside the radius the mode changes to RTL (return to land).
If for some reason we travel further out by the value of
FENCE_MARGIN, then the vehicle will simply land.
Testing the vehicle
MAVProxy allows you to list all the parameters affecting the vehicle
and simulation using param show *, and to set any parameter using:
param set PARAM_NAME VALUE. In addition to affecting the vehicle
itself some parameters simulate the performance/failure of specific
hardware components and the environment (for example, the wind). These
can be listed using: param show sim*. The topic Using SITL for ArduPilot Testing explains more about how
you can test using SITL.
Customizing Launch Location and Parameters in SITL
You can start SITL at a specific GPS location using the -l option during launch.
See “Setting vehicle start location” in Using SITL.
If you wish to use a specific set of default parameters, rather than manually changing them in the simulation with param set commands, you can load them at simulation startup from a file. See Using Simulation Parameters to Control the Simulation section “Loading a parameter set”.