Sending Commands from rviz
rviz allows real-time viewing of the vehicle’s local position and attitude, lidar data and cartographer’s 3D map. It is also possible to set a local position target and have ROS’s navigation libraries (with help from ArduPilot’s velocity controller) move the vehicle to the target.
These instructions were tested on a Nvidia TX2 running an APSync image with ROS installed as described here. Some of the information on this page was found on these wiki pages:
Client PC Setup
Install ROS “Desktop-Full” on the client side PC (where rviz will run).
Connect to the vehicle’s wifi access point (if using APSync the default username/password is ardupilot/ardupilot)
Open a command prompt and check that that you can “ping” the companion computer running ROS. If using APSync, both of these commands should work
ping 10.0.1.128
ping apsync.local
Using your favourite editor, open the
/etc/hostsfile (may require using sudo) and ensure the companion computer appears in the list. Below is what should appear if the companion computer is running APSync
10.0.1.128  apsync.local
10.0.1.128  apsync
In a new command prompt, type
hostnameto get the name of the client PCUsing your favourite editor add the following two lines to the bottom of
~/.bashrc
export ROS_HOSTNAME=your-host-name.local    <--- substitute the client PC's name here
export ROS_MASTER_URI=http://apsync.local:11311
Companion Computer Setup
ssh onto the companion computer. If using APsync the following should work (password is “apsync”)
ssh apsync@apsync.local
With your favourite editor add the following lines to the bottom of
~/.bashrc
export ROS_HOSTNAME=apsync.local
export ROS_MASTER_URI=http://apsync.local:11311
Check ROS data is available on the Client
To confirm the client laptop can retrieve data from the vehicle try the following commands
rostopic list
rostopic echo /robot_pose
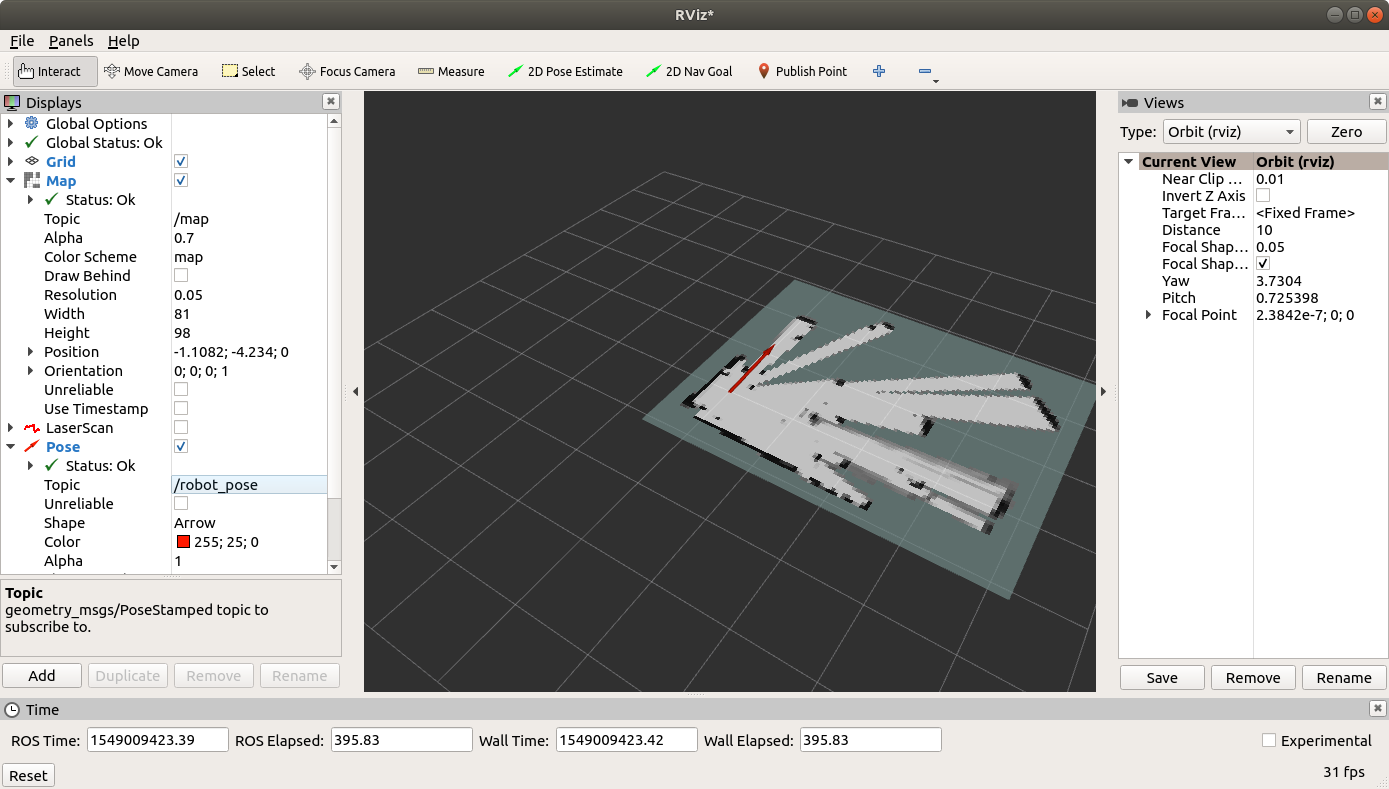
Start rviz
On the client PC start rviz
rosrun rviz rviz
To see a real-time Lidar data
In the Display area, select “Add”, “LaserScan”
once added, expand the “LaserScan” section and set “Topic” to “/scan”
To see a map of the environment
select “Add”, “Map”
once added, expand the “Map” section and set the “Topic” to “/map”
To see the vehicle’s current heading (according to ROS)
select “Add”, “Pose”
once added, expand the “Pose” section and set the “Topic” to “/robot_pose”
Sending Position Targets
To allow ROS to send position targets to ArduPilot via mavros, log onto the Companion Computer running ROS and modify mavros’s node.launch file with your favourite editor (like gedit shown below)
roscd mavros   <-- this assumes mavros has been installed with rosdep
cd launch
sudo gedit node.launch
After
<rosparam command="load" file="$(arg config_yaml)" />add a line like below and restart the all ROS processes
<remap from="/mavros/setpoint_position/local" to="/move_base_simple/goal" />
Arm the vehicle and switch to Guided mode
From within rviz, click the “2D Nav Goal” button and then click and hold the mouse button on the map to aim the green arrow (this sets the target position and final attitude) and then release the mouse button
The ground station should show the target position that the vehicle is moving towards (Mission Planner drops a green marker at the target position and draws an orange line towards the target from the vehicle)
If everything does not go as expected the following commands may help diagnose the issue
rostopic info /move_base_simple/goalshould show Publishers as “rviz” and Subscribers as “mavros”rostopic echo /move_base_simple/goalshould display a “position” and “orientation” the moment after the “2D NavGoal” has been setrosrun rqt_graph rqt_graphshows a graphical diagram of ROS’s nodes and their connections