Cameras and Gimbals
Note
This feature and gimbal drivers are NOT normally included on standard firmware for smaller flash (F4) boards. Use the Custom Firmware Build Server to create firmware that includes it.
Copter, Plane and Rover support up to 3-axis gimbals, including advance features like automated aiming of the camera at a Region of Interest (ROI), and automatic triggering of a camera shutter. Follow the links below to explanations of how to configure gimbals and shutter triggering.
Gimbals
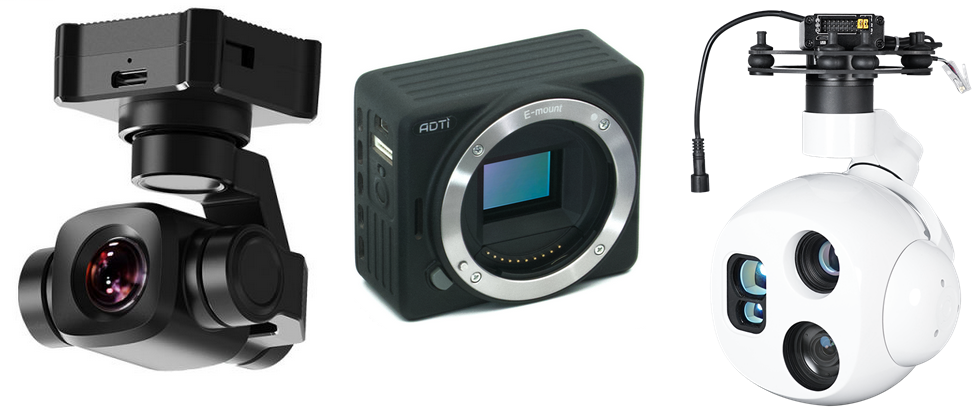
ArduPilot supports both brushless direct drive gimbals (Tarot, SimpleBGC, SToRM32) that have their own self-stabilization controllers and the simpler servo-driven gimbals in which ArduPilot controls the stabilisation. Some gimbals also integrate still or video cameras.
Brushless PWM - brushless gimbals that accept PWM or SBUS input for angle control
Gremsy Mio, Pixy, S1, T3, T7 and ZIO - high quality 3-axis gimbals
Servo Gimbals — older-style servo-driven gimbal where ArduPilot provides stabilisation
SimpleBGC (aka AlexMos) Gimbal Controller - a popular 2-axis or 3-axis brushess gimbal controller which uses a custom serial interface
Siyi A8, ZR10, ZR30, ZT6, and ZT30 - 3-axis gimbal and camera
SToRM32 Gimbal Controller — an inexpensive 2-axis or 3-axis brushless gimbal controller which responds to MAVLink commands (a richer format than PWM) over a serial interface
Gimbals may be attached to retractable mounts to prevent ground contact or to reduce air resistant in flight. Mount control is covered on the Gimbal / Mount Controls page.
Cameras
Camera manufacturers use many differing mechanisms for remote control of the camera (including its shutter or video recording). The following topics explain how to configure camera shutter and controls, and list a number of different approaches for converting the output signal into the form expected by your particular camera. If the camera is integrated with the gimbal, control of the camera is detailed in that gimbals setup.
General Camera Control and Parameters
Shutter Controllers
Control of Specific Camera Models
Common fixes for poor video quality
Some of the more common causes and solutions for poor video are listed below:
“Jello” effect (or rolling shutter) is a by-product of using a camera with a CMOS sensor (GoPro, et al) caused by vibration from unbalanced props/motors and can be mitigated by mounting the camera on soft rubber, silicone, foam ear plugs or sometimes just on velcro.
digital and optical stabilization systems found in many cameras often do not perform well because of the vibrations found on many multicopters.
Exceptions: the Sony video camera balanced steady shot system is very effective even at maximum 30 power zoom.
For better and smoother Yaw, use Expo control on your RC and lower the ACRO_Y_RATE gain in the autopilot.
It is important to remember that even with a perfect setup, photography is an art as well as a science. Using the camera pointing straight to the ground is a good place to start, but more dramatic viewpoints can be achieved with angles other than vertical. Mount about 40 degrees deviation from vertical to obtain mainly ground photos but with an oblique view. About 70 degrees off vertical will give you a lot more sky thus giving more scenic photos. ArduPilot will stabilize the gimbal to whatever position you set.