Serial Passthrough
“Serial Passthrough” allows the autopilot to route serial protocol messages between serial ports on the autopilot including the USB port. This can be used to configure a sensors or devices (which have a serial interface) without disconnecting it from the autopilot using a USB connection. It is also possible to pass data from any serial port to another serial port.
Setup
The sensor or device (with a serial interface) should already be connected to one of the autopilot’s serial ports. Ideally it should already be working.
Connect the autopilot to a PC using a USB cable and connect with a Ground Station (i.e. Mission Planner, QGC, etc).
Note
On most F7 and H7 boards, a second USB virtual serial port also appears when you connect via USB to the autopilot and is assigned the last SERIALx port in ArduPilot for SLCAN use. This can also be used for serial device configuration by changing SERIAL_PASS1 to that port’s number. This allows the autopilot to remain connected to a Ground Control Station, and still use passthrough to a sensor for configuration simultaneously on the PC via its configuration program.
Its best if the sensor already can be detected and used by ArduPilot first.
Be sure to set each port’s baud rate appropriately using the
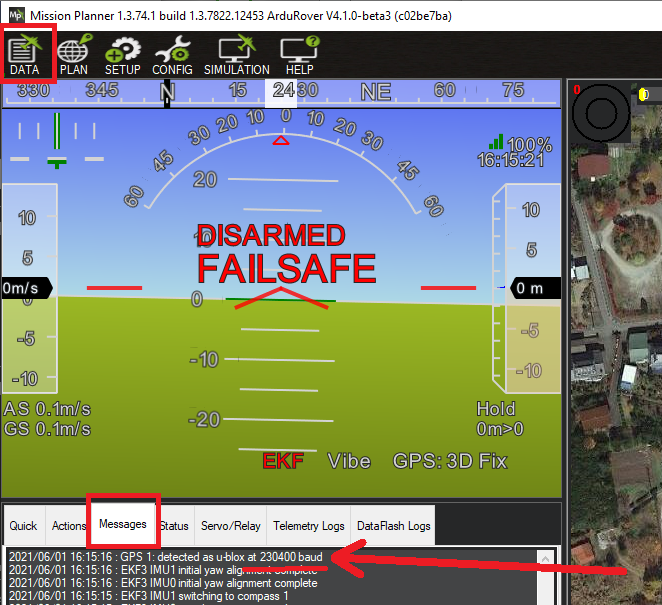
SERIALx_BAUDparameters (USB ports automatically use the passthrough port’s baud rate and do not need to be changed). The rates may be different for each port. ArduPilot will do the buffering. For example, if attempting passthrough to the first GPS, SERIAL3_BAUD should normally be set to 230400 but you may check the GPS driver’s “autobauding” by looking at the ground stations Message window soon after startup. Additionally, many sensor drivers ignore what is set for this parameter, since its hardcoded in the driver, but it MUST be set when using the passthrough feature.
The default for SERIAL_PASS1 (the first serial port to be interconnected) defaults to SERIAL0, the primary USB port.
Set SERIAL_PASSTIMO timeout to a length of time (in seconds) that gives you enough time to connect with the sensor’s configuration software. 30 to 60 seconds is a good choice but setting it to zero will remain in passthrough until reboot occurs. Setting this to -1 will allow the connection to remain even after rebooting.
Set SERIAL_PASS2 to the number of the serial port connected to the sensor. I.e. “2” if the sensor is connected to Telem2/Serial2.
Press the “Disconnect” button on the ground station but leave the USB cable from the PC to the autopilot connected.
Note
some GCS do not have any easy means to “Disconnect” or will immediately try to reconnect. In those cases just close the GCS application entirely.
Open the sensor’s configuration software and connect to the autopilot’s COM port. If all goes well the configuration software should work as it does when the PC is directly connected to the sensor
If the configuration fails to connect there are some things to try:
Some configuration software will not allow connecting to the autopilot’s COM port by default but may have a option to display all available COM ports
If no serial messages are received from the PC the timeout will expire and SERIAL_PASS2 will revert to -1