Connecting as a Support Engineer
Note
this page is for the use of ArduPilot support engineers. If you are a Partner or user, see Partner Support Proxy for instructions.
If you are a support engineer you will have been given 3 pieces of information:
the port number that you will connect on
the port number that your users will connect on
an initial randomly generated MAVLink2 signing pass phrase
Note
Your computers system clock must be accurate for the proxy to work. If it is off by more than one minute then signing may fail.
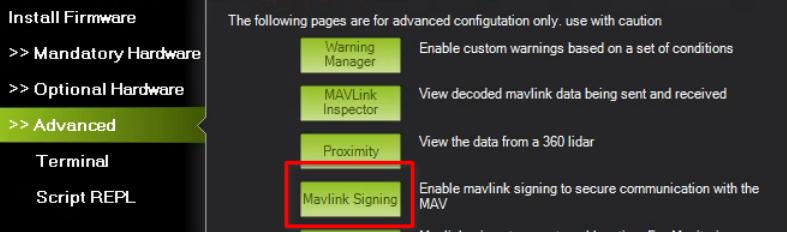
To setup your support proxy port for MissionPlanner you need to use the Advanced->Mavlink Signing tool:
In that tool you need to create a signing key using the pass phrase you have been given:
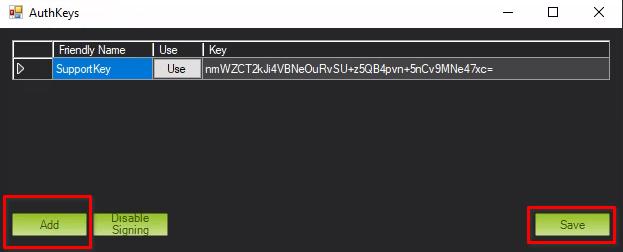
Use the “Add” button to add the key, and the “Save” button to save it.
Once the signing key is setup you can start to accept connections from users. You should direct your users to the instructions at the top of this page.
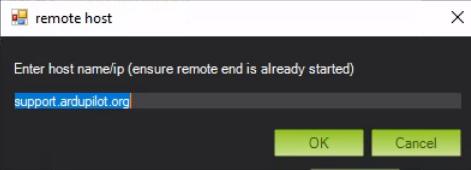
To connect to your side of the proxy use a TCP or UDPCI connection method in MissionPlanner:

After pressing connect choose “support.ardupilot.org” as the host:
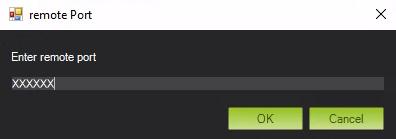
and your support engineer port number as the port:
Managing Your Connection with the Dashboard
The proxy has a web dashboard at support.ardupilot.org/dashboard. Log in there with your support engineer port number and your current pass phrase.
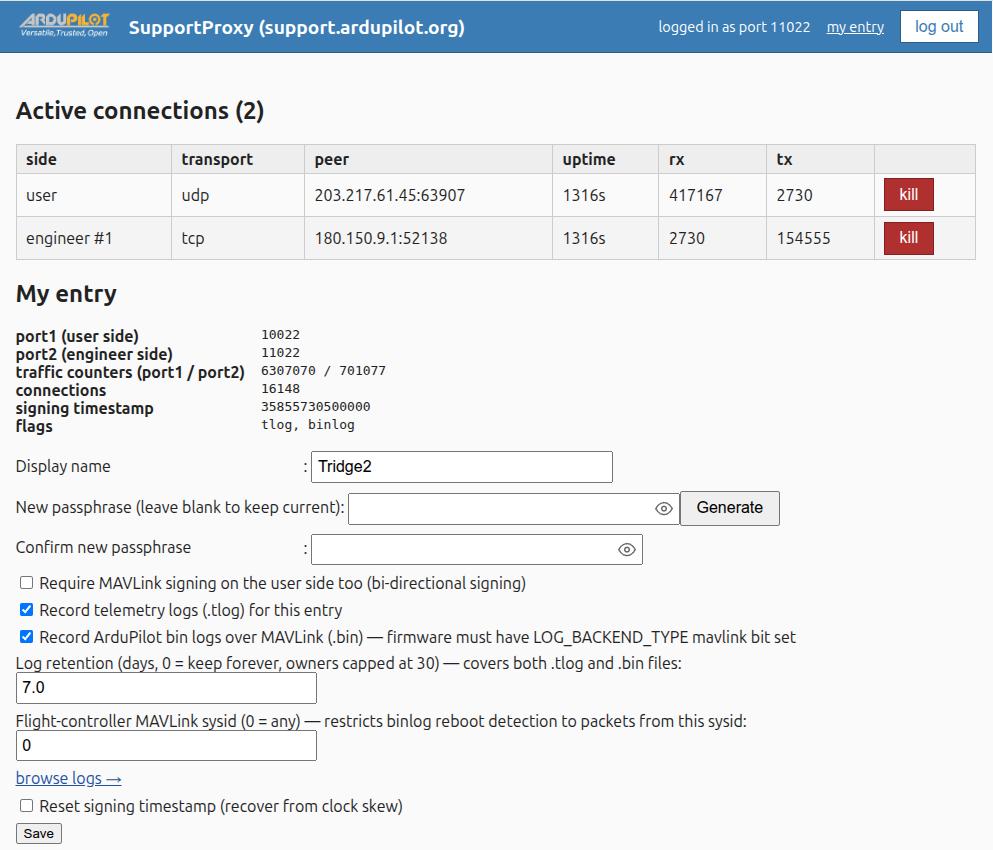
From the dashboard you can:
change the MAVLink2 signing pass phrase for your connection (use the “Generate” button to get a fresh random one, or type your own, then “Save”). This is the easiest way to rotate the pass phrase — it takes effect on the proxy immediately. The Mission Planner method below still works if you prefer it.
see which user and support-engineer connections are live right now (peer addresses, byte counts, link health), and drop a stuck connection if needed
optionally record the session: tick “record telemetry logs” to capture a MAVProxy-format
.tlogof the session, and/or “record ArduPilot bin logs” to capture the vehicle’s dataflash log over MAVLink as a.bin(the firmware must have the MAVLink logging backend enabled). Recorded logs are listed on the dashboard and can be downloaded there; a per-connection retention period controls how long they are kept.
ArduPilot partners with admin access can additionally manage every connection from the dashboard and create new partner connections (including a block of consecutive IDs in one step).
To change the pass phrase from Mission Planner instead, create and save a new key in the MAVLink Signing tool then select it and press the “Use” button:
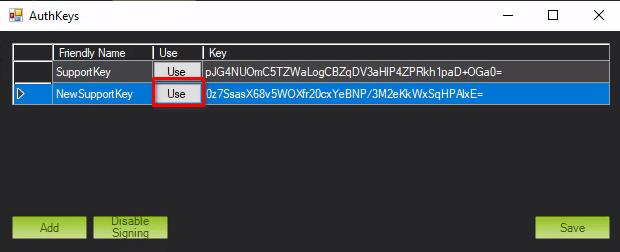
pressing “Use” will update the signing key for your support ID.
If your stored signing timestamp gets ahead of your computer’s clock (for example after a clock change) signing can start failing with a replay rejection. On the dashboard’s edit page, tick “reset signing timestamp” and Save to recover; if you don’t have dashboard access, ask for the timestamp to be reset.
For technical support please contact Andrew Tridgell on your partner support channel on discord.
Useful Tips
When helping a user with remote tuning, having them run this LUA Applet to allow you to instantly revert all tuning in case of an issue, may be useful.
Using MAVProxy as a Support Engineer
An example shell script for connecting as a support engineer using MAVProxy is available here.
DroneCAN GUI Tool
Enter “mavcan:udpout:support.ardupilot.org:” followed by your support engineer port number for the CAN interface and add your signing key.
Note
The signing key in DroneCAN GUI Tool is the password entered into Mission Planner during key generation. It is not the key that Mission Planner displays.

Source Code
The source code for the SupportProxy tool (formerly UDPProxy) along with instructions for installing it on your own machine are available here.