Install Firmware
This article explains how to use APM Planner 2 to program your Autopilot with the latest APM firmware.
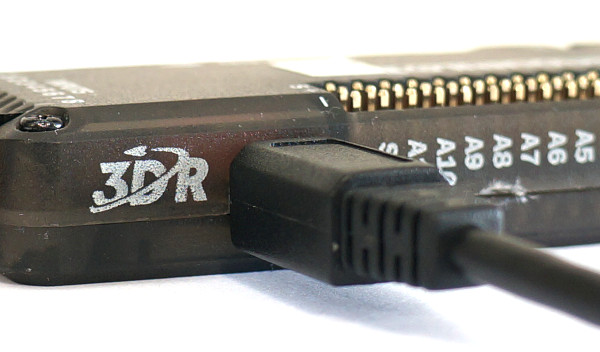
1 Connect autopilot.
Connect the autopilot to your computer with a micro-USB cable. Don’t select Connect yet; APM Planner can only load firmware while it displays Disconnected.
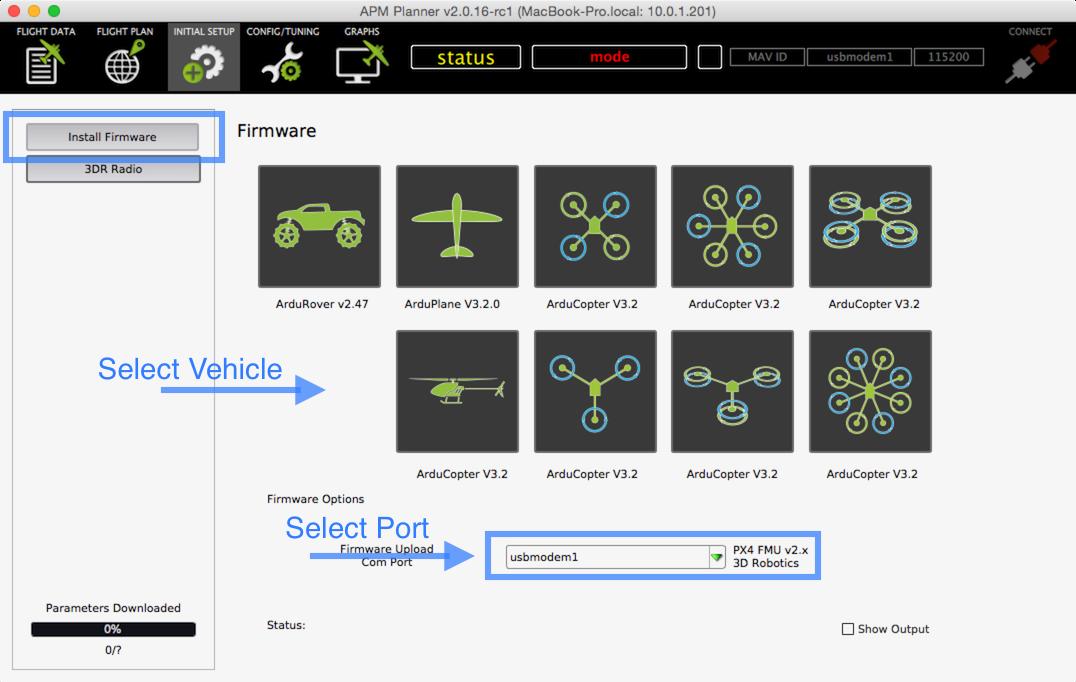
2 Select Initial Setup and Install Firmware. Then select your vehicle type.
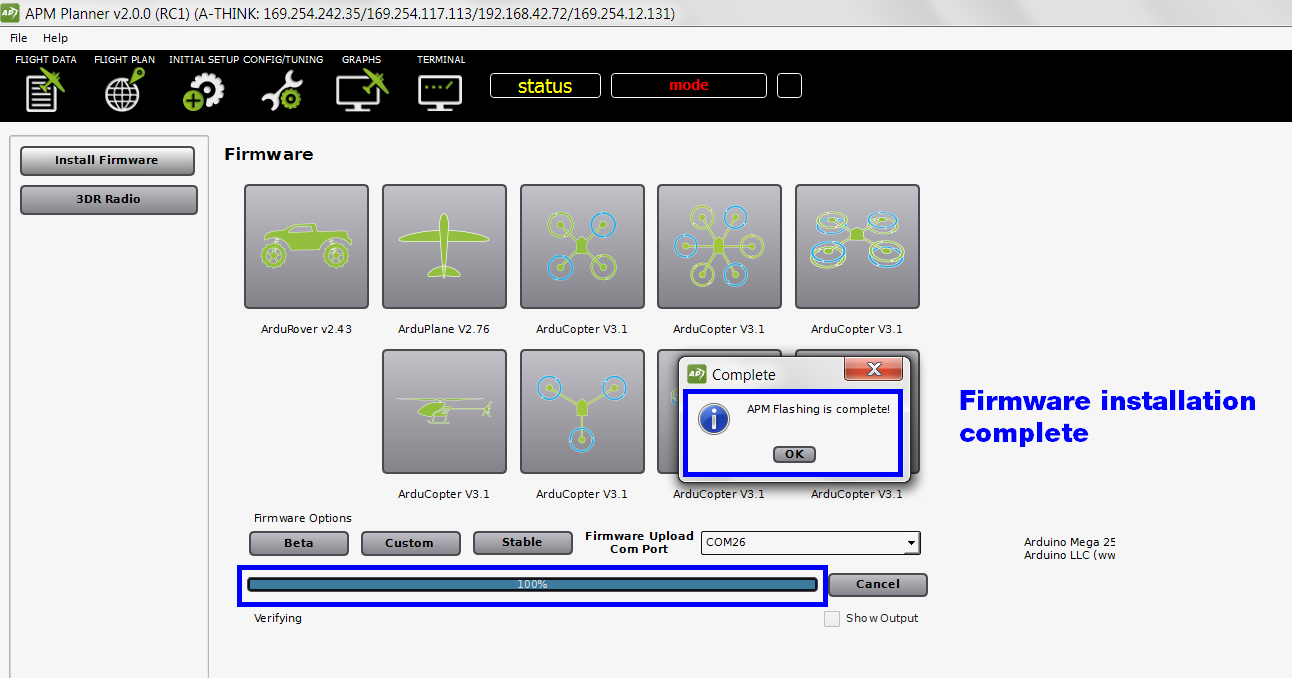
APM Planner will notify you when the status bar reaches 100% and the firmware installation in complete.
3 (Pixhawk) Power cycle and listen for the tone.
After the firmware installation is complete, power cycle your vehicle by disconnecting and reconnecting the USB. Listen for the tone! If you hear a musical tone, your firmware installation is complete. If you hear a tone followed by three beeps, disconnect the USB. Reconnect the USB while holding down the safety button. You will hear several tone sequences followed by two beeps. This indicates your firmware installation is complete.
4 Beta firmware
If you are an experienced tester looking to download a beta version of developing firmware, select beta to view the available beta firmwares.
Note
You may need to put APM Planner 2.0 in Advanced Mode by selecting File -> Advanced in the menu to show the extra options
