Connect Autopilot to APM Planner 2
For setup, to load a mission, and to view data, follow these instruction to connect your autopilot to APM Planner.
1 Connect autopilot
Connect the autopilot to your computer using a USB cable or a 3DR Radio. A 3DR Radio allows you to communicate with your vehicle in flight and provides more mobility during calibration.
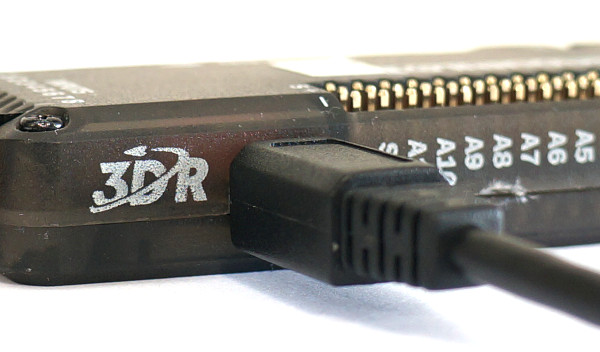
USB Connection to APM Autopilot
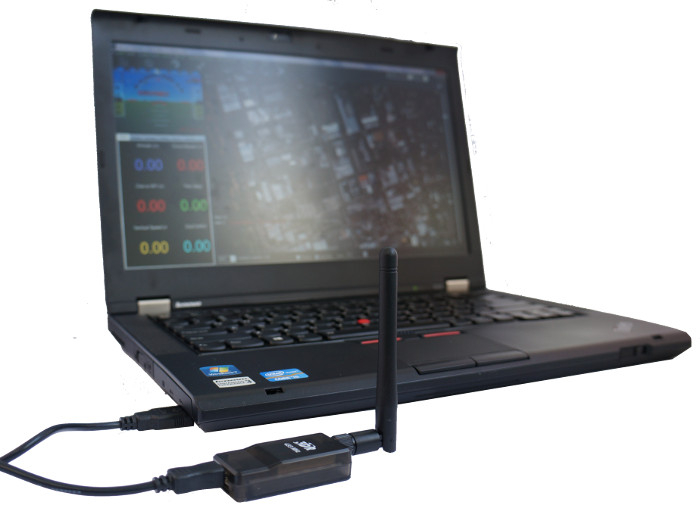
Laptop Connection via TelemetryRadio
2 Connect to MavLink
Select the connect box to select a port.

Set the rate to 115200 for USB and 57600 for a 3DR Radio. Select Connect.

When connected, AP2 will display the green connected icon as shown below.

3 Disconnect when installing firmware
The autopilot must be unconnected to MAVLink (showing the red disconnected icon) to install firmware. Otherwise you will receive the warning shown above.