Archived: Building ArduPilot for APM2.x on Windows with Arduino
Warning
ARCHIVED ARTICLE
ArduPilot no longer supports Arduino or AVR.
This article shows how to build ArduPilot for APM2.x targets on Windows, using the Arduino toolchain.
Tip
An alternative approach is covered in Building ArduPilot for APM2.x on Windows with Make.
Warning
Copter 3.3 firmware (and later) and builds after Plane 3.4.0 no longer fit on APM boards. Plane, Rover and AntennaTracker builds can still be installed at time of writing but you can no longer build APM2.x off the master branch (you will need to build off a supported release branch).
The last Copter firmware that can be built on APM 2.x can be downloaded from here.
In addition to the above restrictions, this article covers:
From Copter version 3.1 to version 3.2.1
From Plane version 2.76 to version 3.4.0
APM 2.0, 2.5, and 2.6 only
Install Git-SCM
Download and run the install file from: https://git-scm.com/download/win
Follow the screenshots below to make your selections during install.

On the Welcome screen and then again on the License screen click the Next button
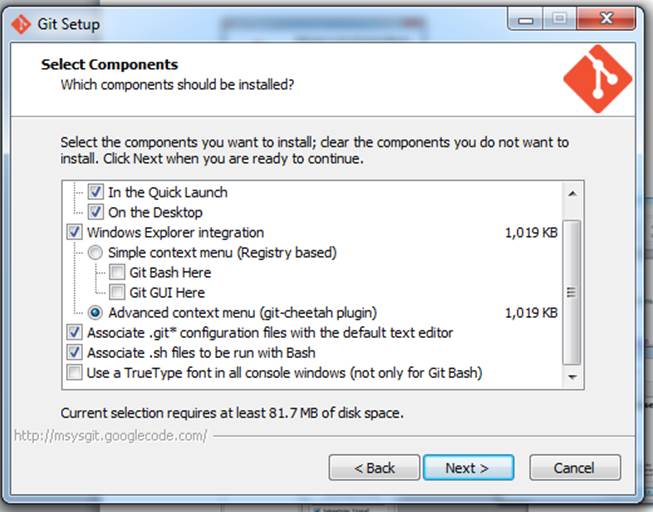

On the Select Components screen click on the Next button, then click the Finish button
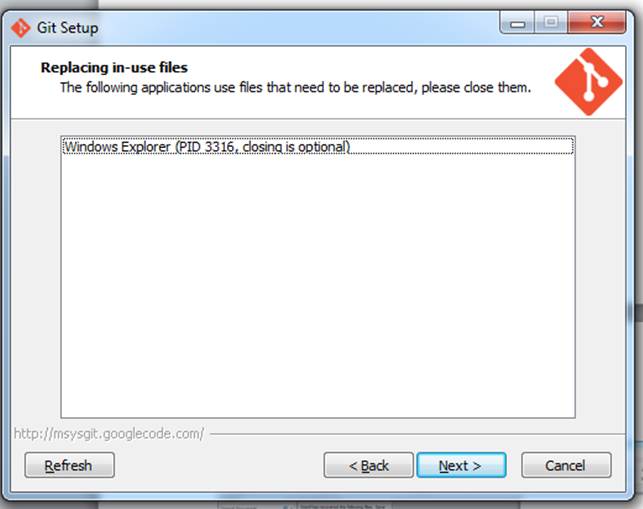
Click the Next button in the Replacing in Use Files Screen, then wait for Git to finish loading

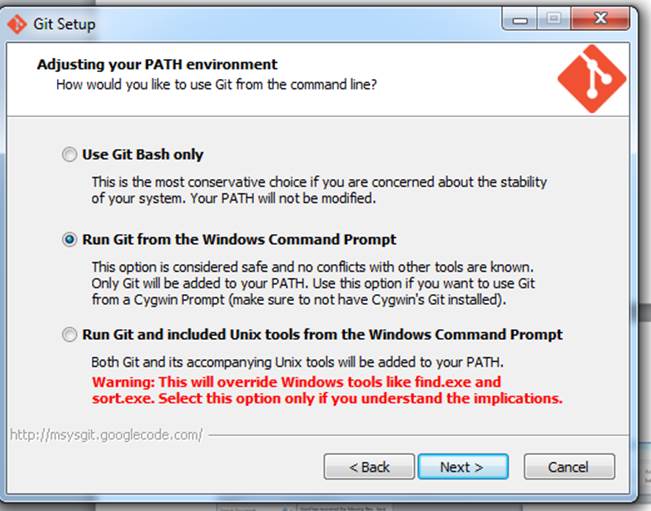
Select the Checkout Windows item and the Next button then Select the Run Git from Windows item and the Next button.
Download source
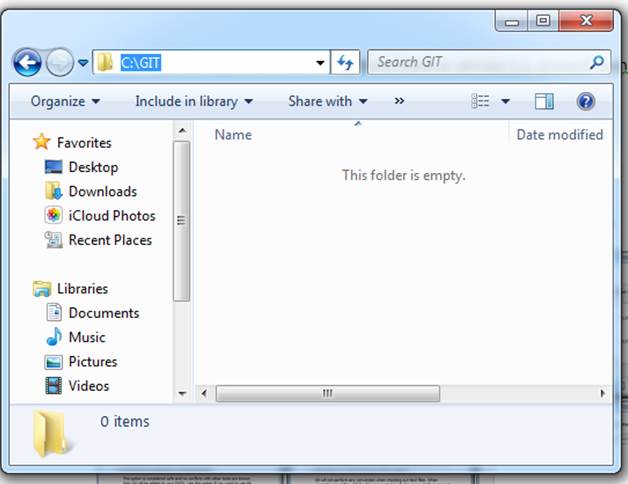
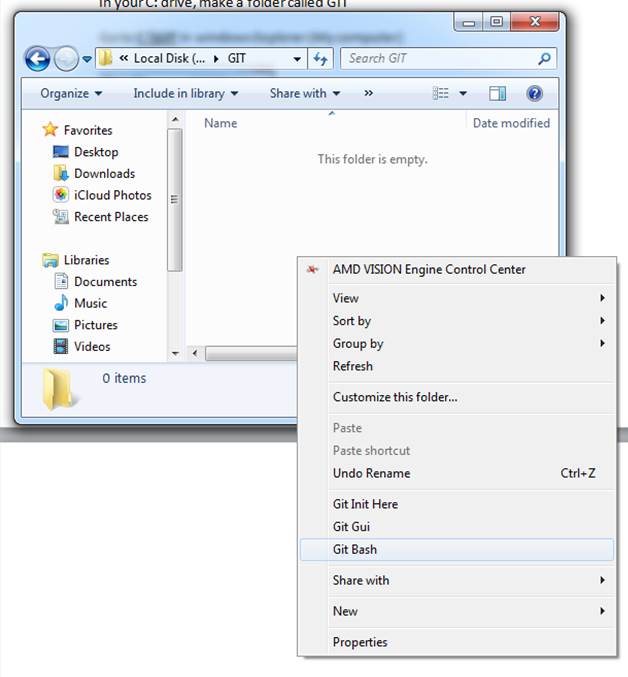
In your C: drive, make a folder called GIT (C:\GIT on my computer). Navigate to the folder Windows Explorer
Right click anywhere in the folder and click git bash
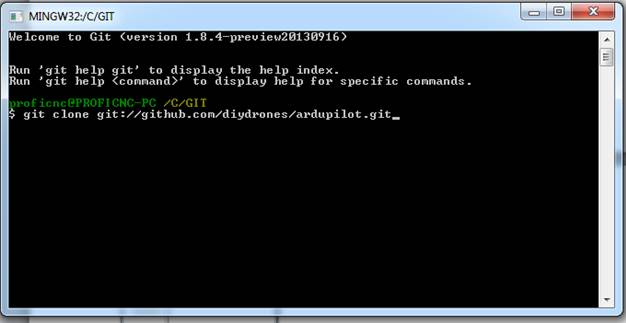
This screen will come up
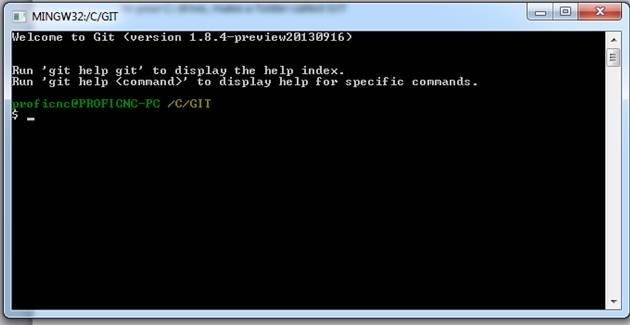
In this screen type
git clone --recurse-submodules git://github.com/ArduPilot/ardupilot.git
When it is finished it should look like this….

A little more initialisation is required for the source code. Initialise referenced dependencies like this:
cd ardupilot
git submodule update --init --recursive
Install MHV_AVR_Tools to its default location
Download and install the MHV_AVR Tools: https://firmware.ardupilot.org/Tools/Arduino/MHV_AVR_Tools_20121007.exe
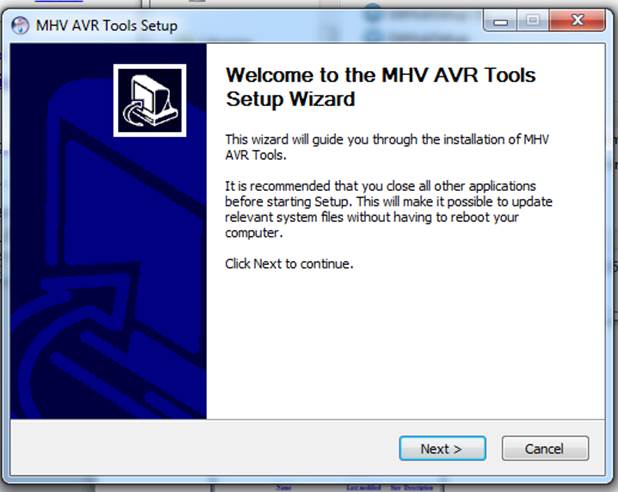

Select the Next button in the setup wizard screen then select the Install button for MHV AVR Tools
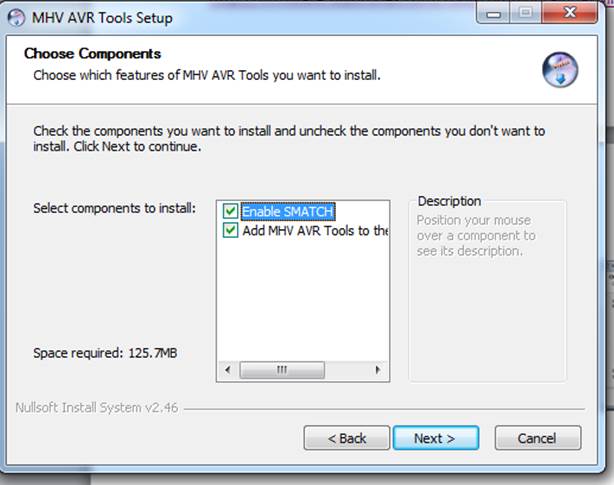

Check both items in the Choose Components Screen and select Next then select Next again to install to the default location
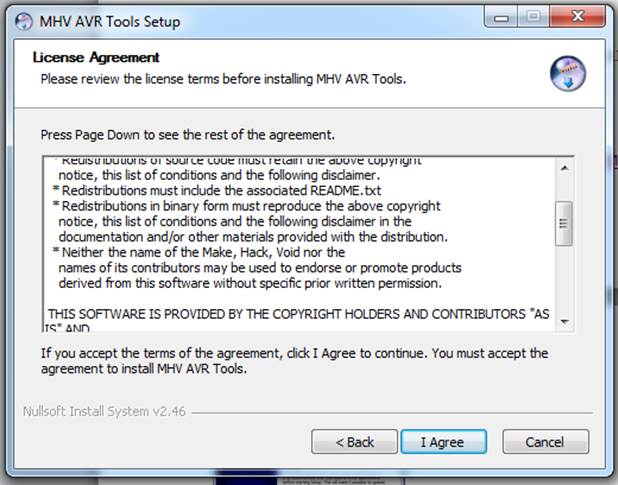
Select the I Agree button on the License Agreement screen.
Install ArduPilot-Arduino
Download and unzip the ArduPilot Arduino package: https://firmware.ardupilot.org/Tools/Arduino/ArduPilot-Arduino-1.0.3-gcc-4.8.2-windows.zip
This can be unzipped directly to the C: drive or C:\Program Files\
Note
This is a special ArduPilot Arduino package which contains gcc 4.8.2
Configure Arduino
Go to your Arduino folder
Double click the Arduino icon

When Arduino opens, go to the file menu
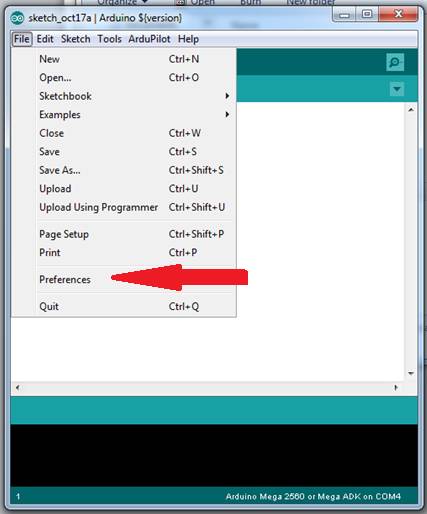
Select preferences
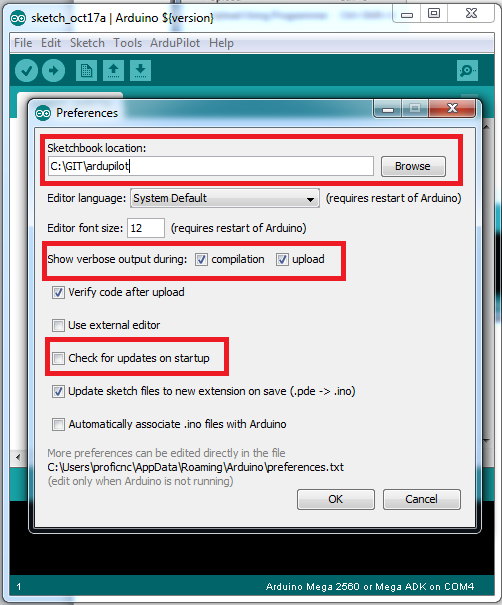
Set Sketchbook location to your ArduPilot directory in your GIT folder.
Set verbose for both compile and upload
And DO NOT check for updates on start-up… (Remember, this is a special version just for ArduPilot.)
Click OK and close Arduino
Connect your APM to your USB
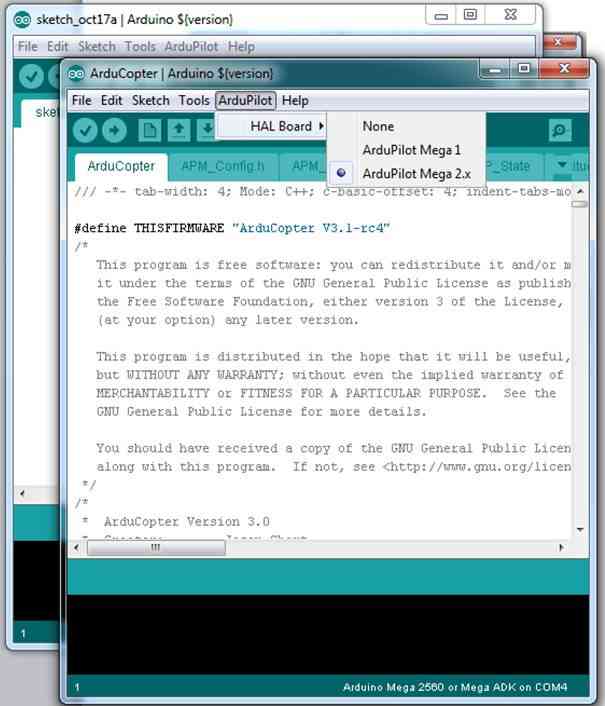
Re-open ArduPilot and under the file tab, click on sketchbook, then the program you wish to load onto your APM2.x (for this example we will use Copter, though the others use the same methods.

Once this is loaded, click on the ArduPilot tab, and select ArduPilot mega 2.x out of the HAL options.
Then click the “Tools” tab and select “Arduino Mega 2560 or Mega ADK” from the “Board” tab.

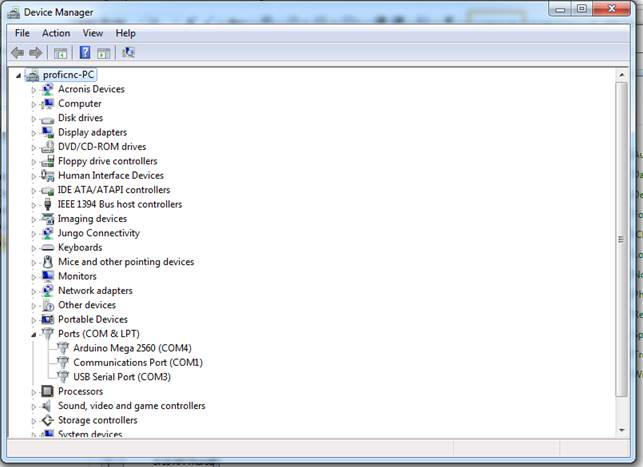
Next select the Tools tab again, and set the “Serial Port” to the one your APM is connected to.
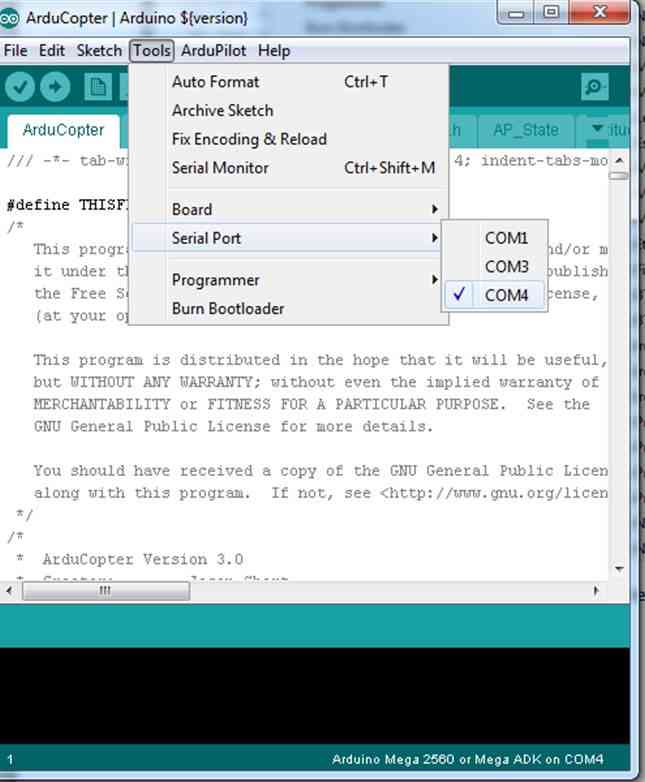
In my case it was COM4, but check under device manager / Ports to find out on your system.
Configure Copter
Click on the APM_Config.h file tab.
Set your frame type (e.g.
#define FRAME_CONFIG HEXA_FRAME) in order to get the right image for your frameEnable or disable the features you wish in this file.
Ie if you want to compile with auto tune disabled, simply un-comment the line
//# AUTOTUNE DISABLED // disable the auto tune functionality to save 7k of flash
To disable Auto Tune which is enabled by default you would change it to:
# AUTOTUNE DISABLED // disable the auto tune functionality to save 7k of flashThe commented out options are the NON-default and all that needs to be done is to un-comment them to use them instead.
Save this file and select the file Copter.
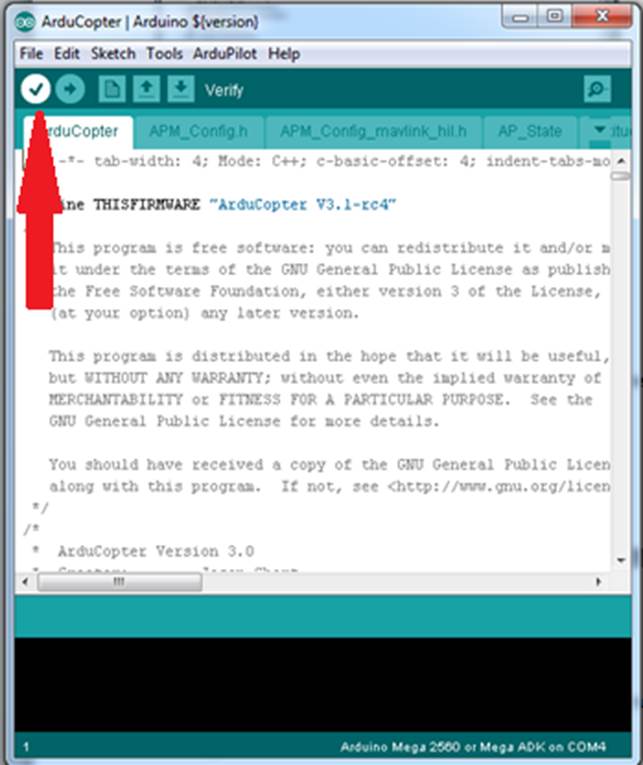
At this point you are ready to compile.
I would choose Verify for the first attempt.
Upload to your ArduPilot
Then if all is well upload to the autopilot, as shown:
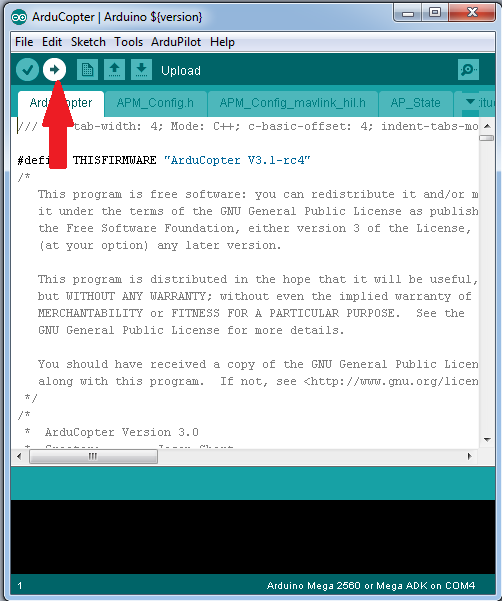
This may take a while…
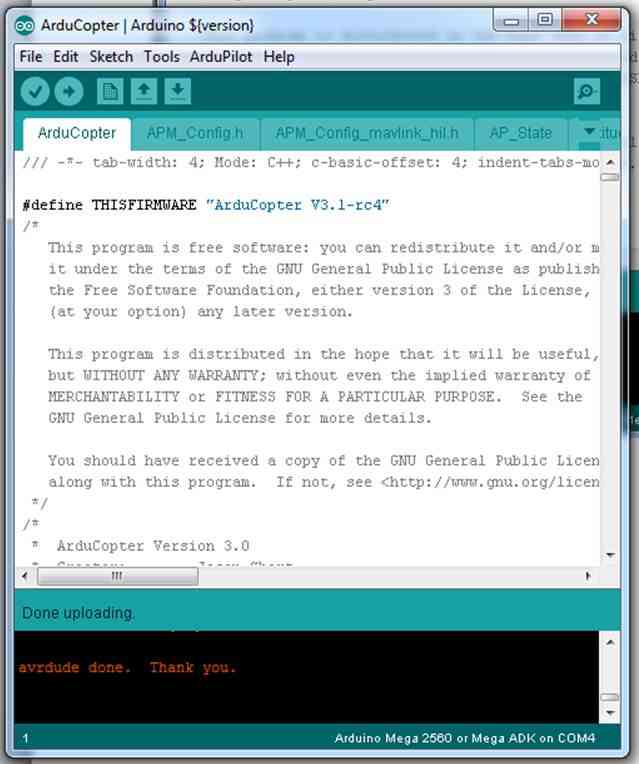
You should end up with the message as shown below.
Configure Your ArduPilot using planner, as normal.
Warning
The code you have just compiled is now UN-TESTED in your configuration. Please use only for testing. If you are not confident, please just use mission planner to upload pre-compiled code.
Updating your code
Please ensure that the version of code on your PC is the latest version, use git to update your code to the latest code.