Getting Started
This article provides an overview of the main components you will need to building and use an ArduPilot-based blimp.
ArduPilot Flapping Fin Blimp
This is the first release of dedicated firmware for an ArduPilot based Blimp. While there are several commercially available Blimps using brushless motors and/or fins as control surfaces which could be adapted to use the Plane firmware, this release is the first ArduPilot firmware targeted specifically to lighter-than-air (LTA) vehicles.
The first release is a simple flapping fin Blimp that can be easily constructed and is suitable for indoor use. It is capable of only lifting a few grams besides its own envelope but serves as a good testing and development platform. Follow these instructions to build your own.
It is expected that future development will be done to include the heavier commercially available LTA vehicles or large do-it-yourself version that could lift and utilize electric motors and/or control surfaces and heavier peripherals. Contributors and Partners to this development would be welcomed!
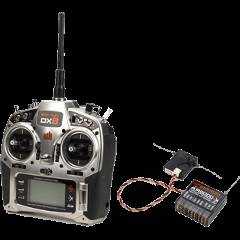
5 or 6 channel (minimum) RC transmitter and receiver
You’ll need a radio control transmitter to manually control your blimp and to activate its flight modes. You can use any RC transmitter/receiver system with at least 5 or 6 channels. Some of the options are discussed in the topic Compatible RC Transmitter and Receiver Systems.

Note
5 channel systems would require either Rudder Arming or a GCS link to arm and disarm, whereas 6+ channel systems can dedicate a channel and switch for arming/disarming. Rudder/Throttle disarming is obviously problematic unless in the HOLD mode.
Autopilot
Blimp requires an autopilot for control and autonomous flight.
Building an indoor blimp such as this, weight will usually be the primary consideration, thus the “single board” type of autopilots are likely to be most suitable, especially the “mini” (20x20mm or 16x16mm) versions.
For more options, see the topic Choosing an autopilot.
Four outputs are required for the actuators. Autopilot inputs for RC, telemetry, GPS or Position Sensor, and Compass are also required. Main battery voltage, and perhaps current sensing, are very useful also.
Position and Yaw Sensors
In order to use any of the position-controlled flight modes, ie any mode other than HOLD or MANUAL, Blimp requires position information.
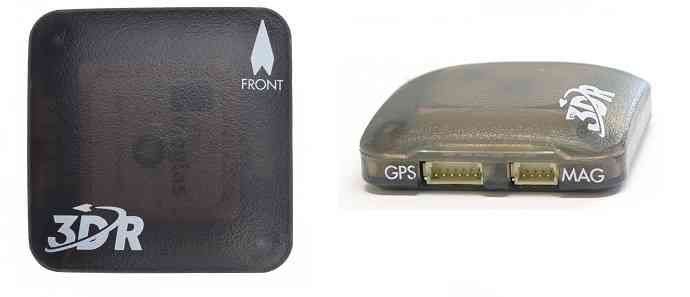
For outdoor use, the simplest option is a GPS module generally with a compass.
A compass is also required, because the velocities and speeds of the vehicle are not large enough to assure that ArduPilot’s algorithmic yaw estimator for compass-less operation would ever converge.
For indoor use, please see the non-GPS options.

EKF Source Selection and Switching may be of interest also
LiPo Batteries and Charger
Blimp requires a rechargeable lithium polymer (LiPo) battery. Blimps have much lower power requirements than most UAVs but also lower payload capacity for their size. Since blimps must always be neutrally buoyant (i.e. any extra payload capacity will need to be compensated for by weights), it is a good idea to use as big a battery as the blimp can use.
For example, a blimp that is approximately 50 cm in diameter would likely be able to fly at a slow pace for about 10-20 minutes on 150 mAh 1S. However it likely has enough lift to carry double the capacity or more if there aren’t any cameras or other payload added.
While a blimp generally uses only one battery at a time, we recommend having a few batteries in stock; more batteries means more flight time. You’ll also need a charger for your batteries.
Ground Control Station (GCS)
The (free and open source) Mission Planner is recommended if you’re going to be loading new versions of Blimp onto the autopilot, and for first-flight tuning and calibration.

Alternatively, you may find it more convenient to choose a different ground station - running on the tablet, phone or computer of your choice. The main options are discussed in the topic Choosing a Ground Station.
Telemetry Radio
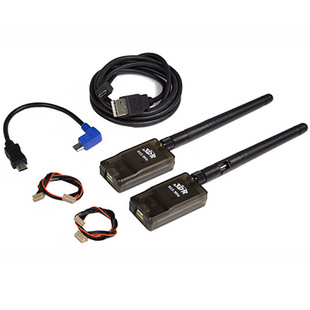
A telemetry radio allows your blimp to communicate with your ground station from the air using the MAVLink protocol. This allows you to interact with Blimp in real time and receive streaming data from your blimps.
We recommend the telemetry radio solutions linked from the Telemetry Landing Page.
A Bluetooth, or WIFI adapters, such as DroneBridge / ESP32 WiFi telemetry and ESP8266 wifi telemetry, are lightweight and have enough range for indoor operation.
Remember that if using an RF radio such as, the SIK Radio, you will need the version at the permitted frequency for your country - 915 MHz (Americas) and 433 MHz (Europe).

Note
Also note that many RC systems have the capability built-in of providing telemetry back to the RC transmitter for display and even limited GCS-like control and parameter editing, notably FRSky SPort, FPort, and CRSF systems,which also have micro sized receivers suitable for this application.
Actuators
For control and propulsion, the Flapping Fin Blimp uses micro servos, such as`these <https://usa.banggood.com/search/1.7g-servo.html>`__ . Larger versions could scale their size, accordingly.