Pixhawk Wiring Quick Start
This article provides high level information about how to power Pixhawk and connect its most important peripherals.
Warning
Do not connect any servos or other devices to the PWM outputs of your receiver. The RCIN port on the Pixhawk is designed for low power devices only, and a servo or relay may draw a lot of current from the receiver. If you connect a servo directly onto your receiver while the receiver is powered from the RCIN port of your Pixhawk you may damage your Pixhawk.
Pixhawk Wiring Chart
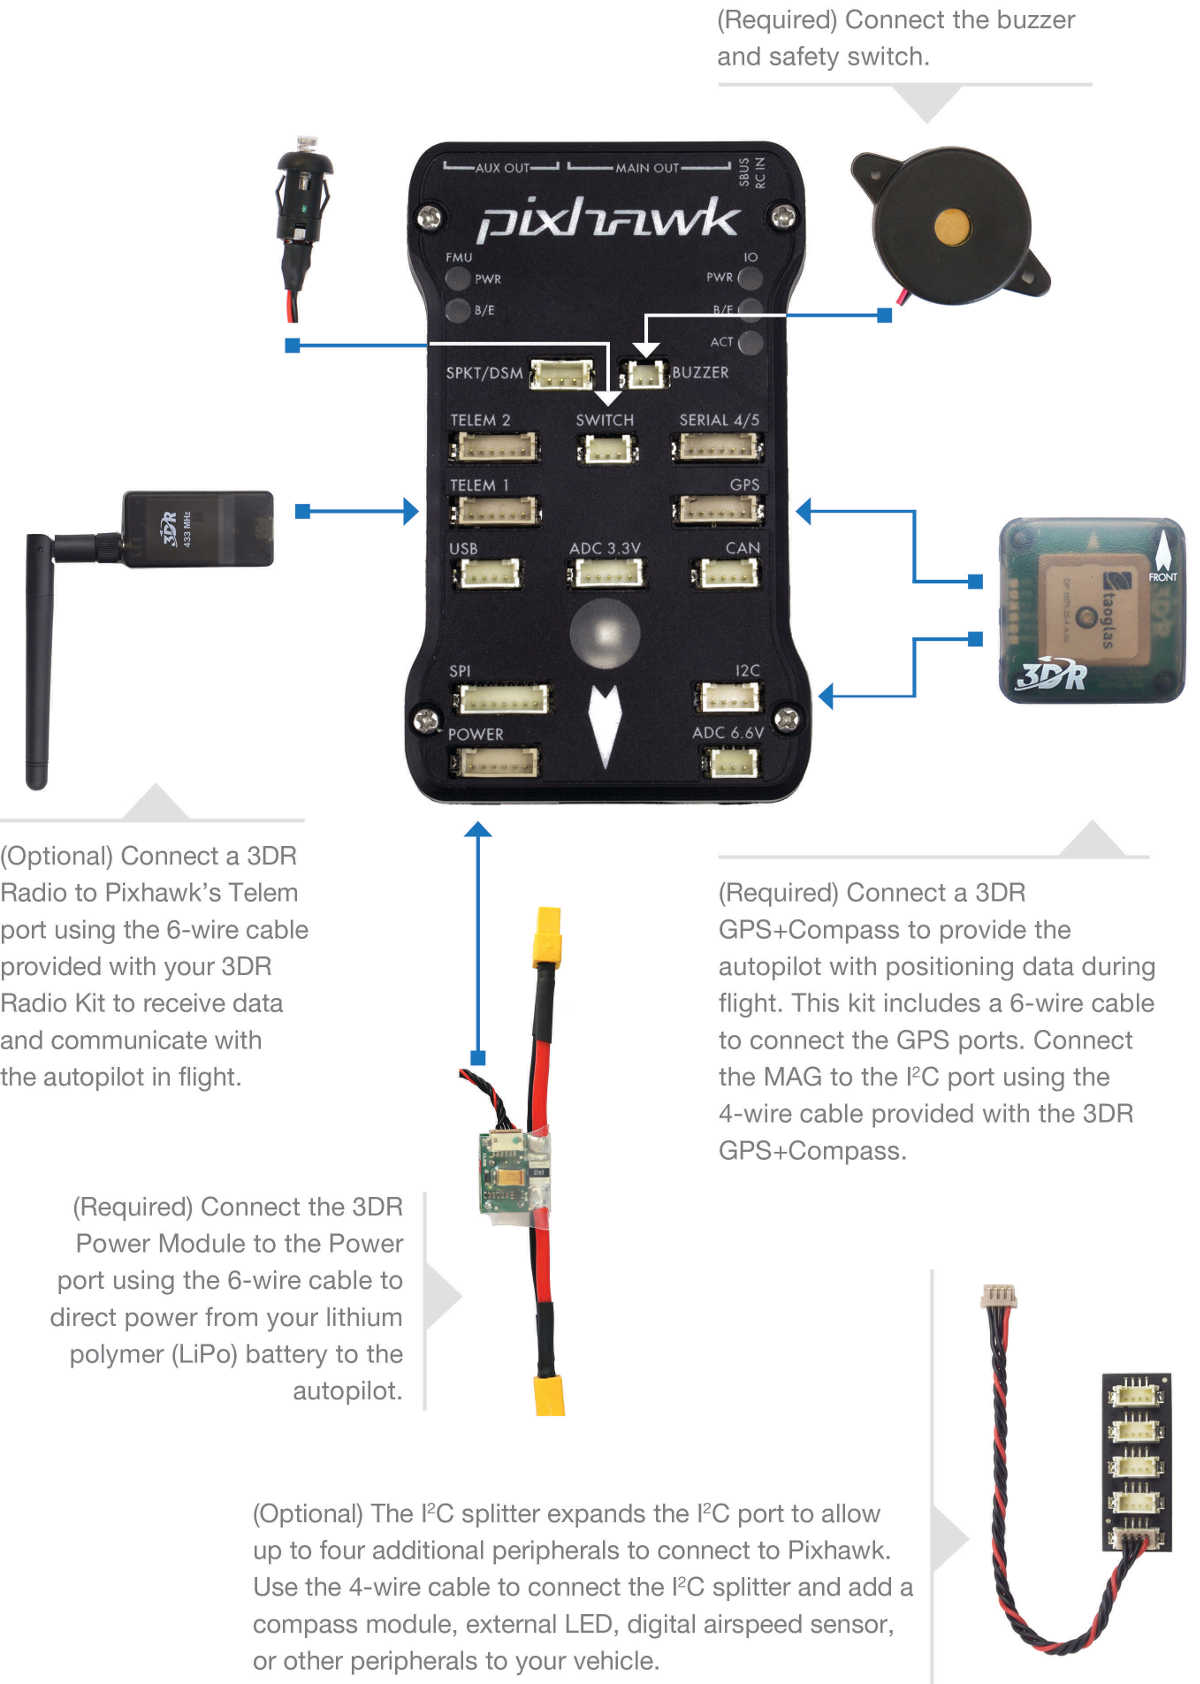
Power Pixhawk
Pixhawk is typically powered via its “power” port, as shown in the picture below. The power port simultaneously powers Pixhawk and reads voltage and current analog measurements produced by an optional power module. Information about powering the Pixhawk can be found in the topic Powering the Pixhawk.

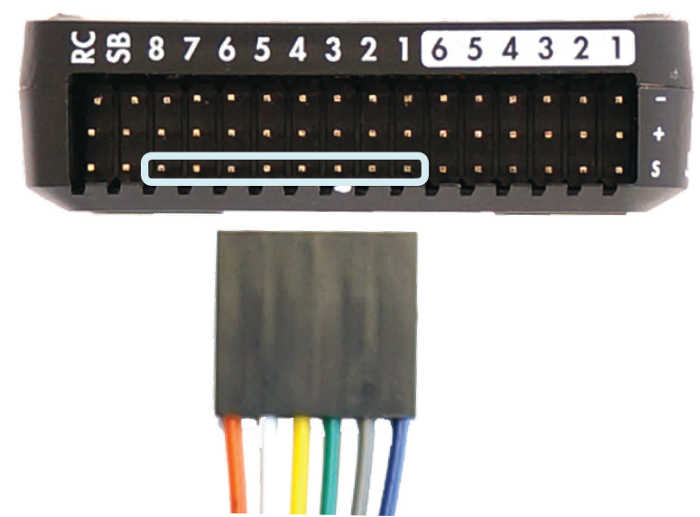
Connect remote control inputs
Pixhawk is compatible with
PPM-Sum receivers
SBus receivers
IBUS receivers
For traditional single-wire-per-channel (PWM) receivers a PPM encoder can be used to convert the receiver outputs to PPM-SUM.
Tip
Information about compatible receivers and how they are connected can be found in Radio Control Systems
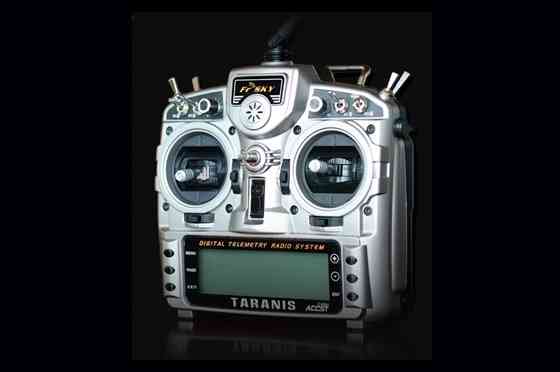
FRSky Taranis Transmitter
Connect buzzer and safety switch
The buzzer and safety switch button are mandatory for Pixhawk. Connect to the BUZZER and SWITCH ports as shown.

Warning
Mount the beeper at least 5cm away from the flight controller or the noise may upset the accelerometers.
3DR GPS+Compass
The 3DR UBlox GPS + Compass Module is the recommended GPS for Pixhawk on ArduPilot. The GPS ports are connected with the six-position DF13 cable, and the MAG port is connected to the I2C port with the four-position DF13 cable.

3DR UBlox GPS + Compass Module
The topic 3DR UBlox GPS + Compass Module shows how to connect to Pixhawk and include additional configuration and mounting information.
Connect Motors
For planes connect the control channel wires to the main output signal pins:
Pin 1 = Aileron
Pin 2 = Elevator
Pin 3 = Throttle
Pin 4 = Rudder
Connect other peripherals
Depending on your hardware there may be any number of other peripherals attached, including sensors, cameras, grippers etc. These can be found as sub-pages of the topic Optional Hardware.
Information about connecting these peripherals to Pixhawk is found in the respective pages.