Setup Guide for Parrot Disco
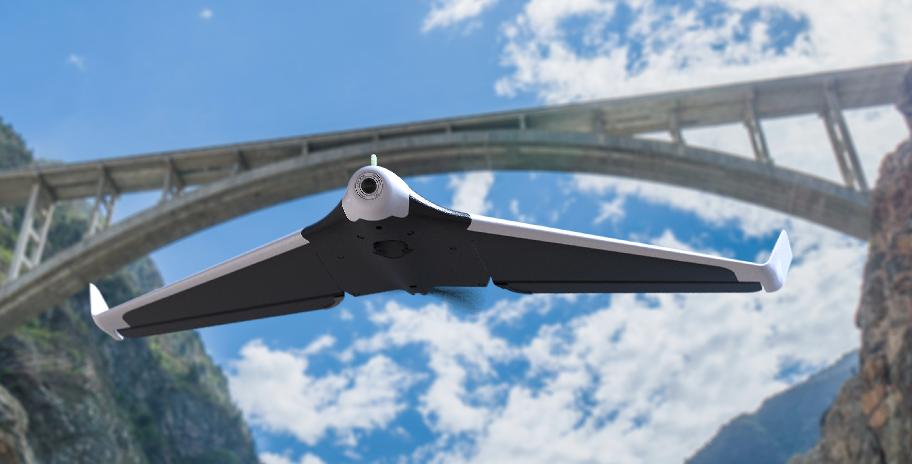
The Parrot Disco is a lightweight delta-wing with built-in camera and good flight characteristics. This page will help you get setup with ArduPilot running on your Disco.
Prebuilt Firmware
A build of APM:Plane for Disco is automatically generated by the ArduPilot autobuild system. You can see the builds here:
the file you need to download is ‘arduplane’.
Building Firmware
To build the ArduPilot firmware yourself you should use the waf build system, which is included as part of ArduPilot. The command to build APM:Plane for Disco is:
./waf configure --board disco./waf plane
this will give you a file build/disco/bin/arduplane that needs to be installed on your Disco.
Networking
The Disco has a builtin WiFi access point, which will show up on your network as “DISCO-xxxxxx” where xxxxxx is a device specific serial number. The WiFi has no password by default.
You can also use USB networking if your operating system supports it. Just plug a USB cable into the left most USB port on the back of the CHUCK module and connect with your operating systems network manager.
Installation
ArduPilot is usually installed in /data/ftp/internal_000/APM. You should use adb to create that directory and put a copy of arduplane from the build step in the directory.
You will need some additional setup and configuration files as well. A copy of all of the required files is available here:
You will need to modify the /etc/init.d/rcS_mode_default startup script to start ArduPilot. An example of a modified startup script to start ArduPilot if it is installed is available here:
you may find the ‘Raw’ button useful for downloading that file.
That script will start ArduPilot is there is a start_ardupilot.sh script in the APM directory.
You will also need to install the start_ardupilot.sh script. A copy of a suitable script is here:
that starts the Disco FAN and then loops running ArduPilot. The loop is so you can restart ArduPilot with a MAVLink preflight-reboot request from your GCS without rebooting the Disco.
The startup script assumes that your Disco appears on the 192.168.42.0/24 network for WiFi and 192.168.43.0/24 network for USB networking. It tells ArduPilot to announce itself as a MAVLink device on those two networks. It will pick up the first MAVLink capable ground station that connects on UDP port 14550 on those networks.
Ground Station
For configuring your Disco you will need a ground station software package (GCS). There are several choices for use with Disco:
MissionPlanner (windows only)
APM Planner (cross platform)
QGroundControl (cross platform)
MAVProxy (cross platform, experts only)
They are all capable of controlling all aspects of the Disco setup and flight, including autonomous missions.
Transmitter Setup
The usual way to fly a Disco with ArduPilot is with a SBUS receiver and matching transmitter. You can also fly without a transmitter, but that is only recommended for advanced users who are very familiar with automated flight control with ArduPilot. We hope to support the Disco WiFi based transmitter in ArduPilot in the future.
Warning
The telemetry output option of many R/C receivers can interfere badly with the Disco WiFi. Make sure you do a R/C range check before flying and also check that your WiFi telemetry has sufficient range for your needs. Many R/C receivers with a telemetry option can disable the telemetry when binding. Please refer to your receiver documentation for details. It is recommended that you disable receiver telemetry if you find your WiFi telemetry link from the Disco is affected by your receiver.
Loading Parameters
You will need to load a set of parameters suitable for the Disco using your GCS. A recommended set of parameters to start with is here:
you can download that file directly for loading into a GCS with this link:
Compass Calibration
You need to calibrate the compass in your Disco before you fly. This must be done with the hatch in place due to the magnetic catch on the hatch.
Each GCS choice has an option to start a compass calibration. Please choose on-board compass calibration for your GCS and follow the prompts.
Note that you may find you need to raise COMPASS_CAL_FIT to allow successful calibration of the Disco, as the magnetic setup of the Disco hardware is not ideal and won’t produce a perfect fit. We recommend setting COMPASS_CAL_FIT to 20.
Accelerometer Calibration
You also need to perform an accelerometer calibration. Please follow the prompts in your GCS for the accelerometer calibration procedure. This will only need to be performed once.
Airspeed Calibration
Before each flight you should perform an airspeed offset calibration as the airspeed sensor will vary in its zero value between power cycles.
You should loosely cover the pitot tube that is built into the power switch and choose the pre-flight airspeed calibration option in your GCS.
Stabilisation Check
Before each flight you should check the stabilization of the Disco by changing to FBWA mode and checking the following:
roll the Disco to the right. The right elevon should go down, the left elevon should go up
roll the Disco to the left. The left elevon should go down, the right elevon should go up
pitch the nose up. Both elevons should go down
pitch the nose down. Both elevons should go up
Next you should check for correct transmitter control with the Disco held level.
input right roll on the transmitter. The left elevon should go down and the right elevon should go up
input left roll on the transmitter. The right elevon should go down and the left elevon should go up
pull back on the pitch (elevator) stick on the transmitter. Both elevons should go up.
push forward on the pitch (elevator) stick on the transmitter. Both elevons should go down.
Takeoff
The Disco has a very low stall speed which makes it easy to launch in a wide variety of ways. Some recommended ways are:
a side launch where you hold a wing close to the fuselage, and launch the aircraft forward. An example is shown here:
a forward throw launch, as shown here:
Always launch into the wind, and be careful to keep your hand clear of the propeller.
Also note that you can configure Disco for “shake to start”, to start the motor when the airframe senses a shaking motion. That is set by the TKOFF_THR_MINACC=4 parameter in the parameter file linked above.
You can see a “shake to start” example here:
Flight Modes
For general stabilised flight FBWA mode is recommended. This is also good for takeoffs and landings.
For longer distance FPV flying CRUISE mode is recommended as it will hold airspeed, height above ground and ground course.
You should also setup your transmitter for easy access to RTL mode to bring the plane home if you need to.
Manual Landing
To land manually FBWA mode is recommended. Just point the plane in the direction you want to land and drop the throttle. To come in more steeply push the pitch stick away. To perform a nice flare pull back a small amount on the pitch stick just before touchdown.
APM:Plane will automatically put the nose down a couple of degrees when at zero throttle to keep the airspeed up. You can set how much nose down it uses at zero throttle with the STAB_PITCH_DOWN parameter.
Make sure you land with zero throttle or you risk breaking the propeller.
AUTO Landing
When using an AUTO mission you can place a NAV_LAND waypoint where you want to land, with a target altitude of zero meters. You also need to place an approach waypoint about 200 meters before the NAV_LAND point, about 30 meters above the ground. The Disco will automatically flare and cut the motor as it approaches the landing point.
Note that the Sonar used on the Disco for landing flare detection does have a tendency to sometimes produce false positives. That can cause the Disco to flare early in the landing as it thinks it is close to the ground. Because the Disco has such good glide characteristics this doesn’t result in a crash, but it does cause it to land well short of the target position.
Log Files
There are two types of log files for the Disco with ArduPilot. The first is a “tlog” which is stored by your GCS software on your ground station. The second is a “DF” log, which is stored on board the Disco.
The log directory is /data/ftp/internal_000/APM/logs and can be accessed by ftp. Just enter a URL like ftp://192.168.42.1/ in Windows Explorer if using Windows to view the storage on the Disco and access log files. These files have a “.bin” extension (for binary log file).
The C.H.U.C.K Autopilot
The heart of the Disco is the C.H.U.C.K autopilot, an orange box which is a general purpose autopilot. It is perfectly possible to use the C.H.U.C.K in a different airframe.
For more information on using C.H.U.C.K with ArduPilot please see the C.H.U.C.K AutoPilot