Marvelmind for Non-GPS navigation
This article explains how a MarvelMind system can be a short-range substitute for a GPS allowing position control modes like Auto and Guided. See the user manual for more details on the system.
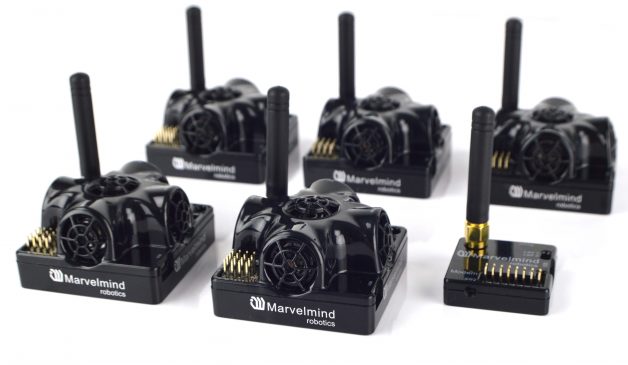
image courtesy of marvelmind.com
Required Hardware
Marvelmind Settings
Ensure the Marvelmind is firmware version 7.910 (or higher)
The height of every stationary beacon, from the ground, must be set on the dashboard.
The hedge should be set to output NMEA 0183 Protocol at baud rate of 115200.
Connecting to an autopilot
Here is a package with tested param files for the Autopilot and Marvelmind hedge: <https://marvelmind.com/pics/marvelmind_ardupilot_settings.zip> Upload the param file corresponding to your version of Autopilot software with Mission Planner or QGroundControl.
Set latitude and longitude of the point (X=0, Y=0) on the Marvelmind map in Georeferencing settings of the modem in the dashboard
Refer to section 11.11 of the user manual to setup correct north direction on the map
Ground Testing
Connect the Autopilot to a ground station
Click on ‘freeze map’ on the dashboard
Check that the vehicle’s position is relatively stable (i.e. moving around less than one meter)
Walk the vehicle around between the beacons and ensure that its position on the map updates correctly