RPLidar A2 and S1 360 degree lidar
The RPLidar A2 or RPlidar S1 can be used for object avoidance in ArduPilot. This page describes how to connect them directly to your autopilot. See separate wiki pages on object avoidance for Copter and Rover for more details on how to setup the avoidance feature.
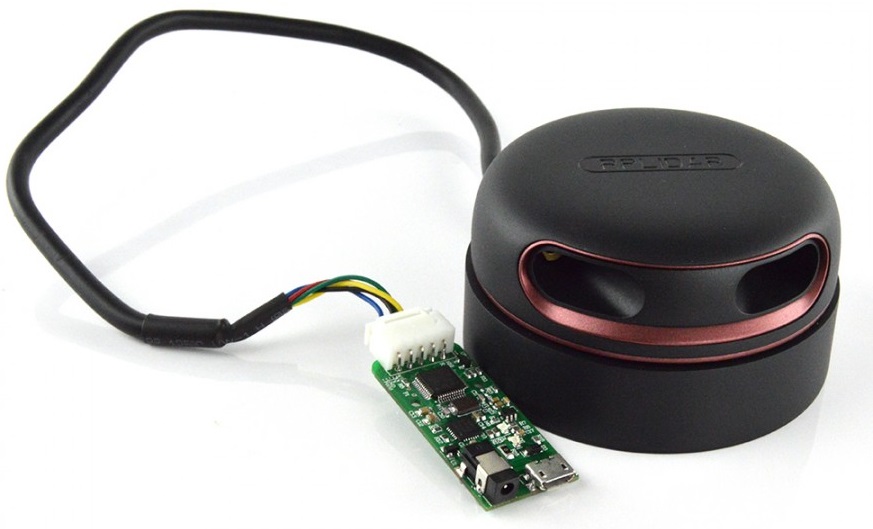
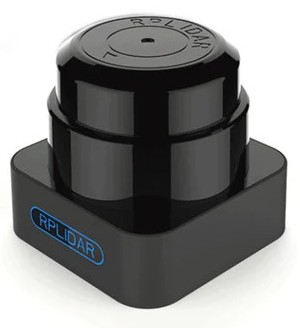
image courtesy of robotshop.com
Where to buy
Slamtec.com includes a list of resellers here
Specifications
A2:
rotation rate: 10hz / 600 RPM
sample rate: 4000 to 8000 samples/s
range: 6m to 18m
resolution: 0.9 degrees
voltage/current requirement: 5V / 1.5A
S1:
rotation rate: 8-15hz
sample rate: 92000 samples/s
range: 10m to 40m
resolution: 0.39 degrees
voltage/current requirement: 5V / 0.5A
Connecting and Configuring
- A2:

- S1:
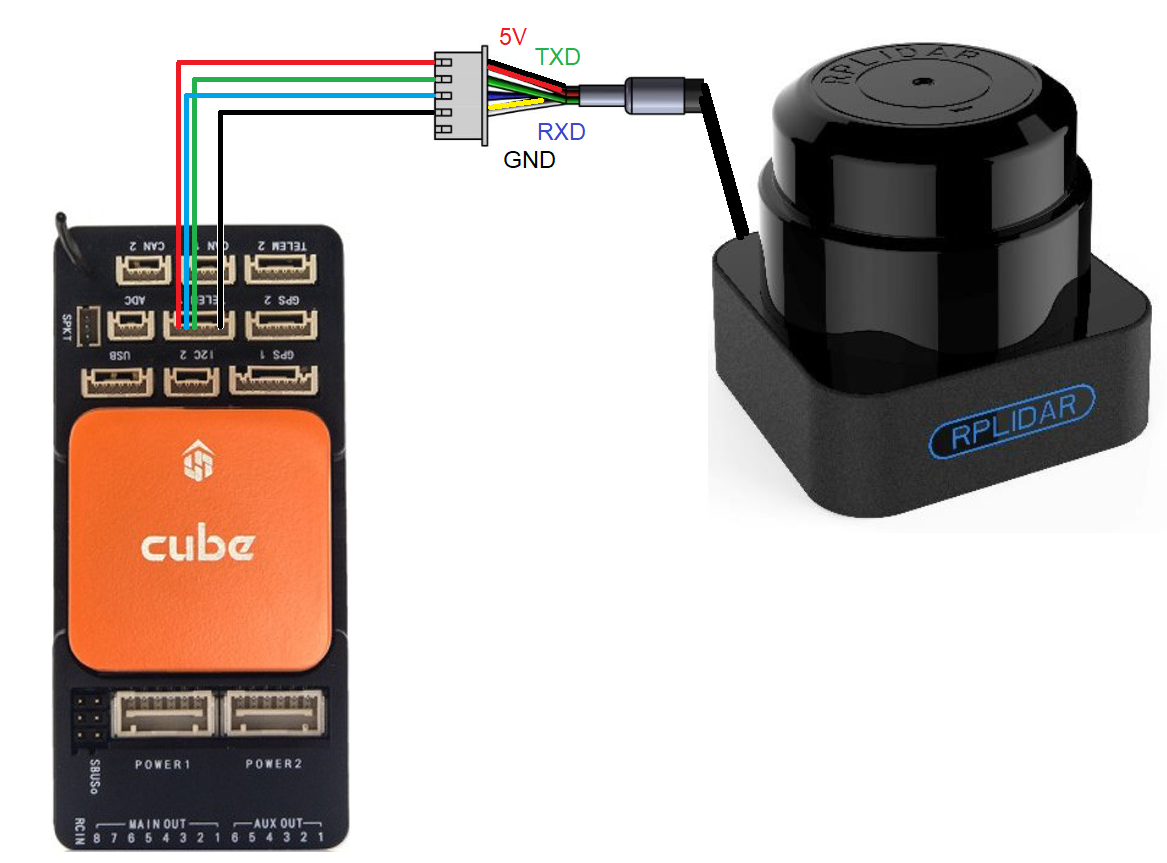
The lidar should be mounted horizontally on the top or bottom of the vehicle with the black cable pointing towards the rear of the vehicle. Ensure the sensor’s view is not obstructed by any portion of the vehicle including GPS mast, vehicle legs etc.
The lidar can be connected to the autopilot’s serial input as shown above. Be sure that the autopilot’s 5V supply is capable of supplying the unit’s required current. Otherwise provide an independent 5V supply to the unit.
Example setup below shown for first proximity sensor:
SERIAL1_PROTOCOL = “11” (“Lidar360”) if using Serial1
SERIAL1_BAUD = “115” for A2, “256” for S1, if using Serial1
PRX1_TYPE = “5”
PRX1_ORIENT = “0” if mounted on the top of the vehicle, “1” if mounted upside-down on the bottom of the vehicle.
It may be necessary to turn off flow control if using Telem1 (aka Serial1) or Telem2 (aka Serial2)
BRD_SER1_RTSCTS = “0” if using Serial1
More details on using this sensor for object avoidance on Copter can be found here.