Branching and Committing
Branches are a way to isolate different paths of development, which can then be combined (aka “merged”) into a single branch (often named “master”). Refer to this short guide or the resources in the Learning Git section for more information.
Commits record changes to the code along with a description and the author’s name.
This page describes how to create a branch and add some commits. The instructions show the command line interface but all of the recommended GUI tools can also perform these functions.
Creating a Branch
open a terminal window and cd to the ardupilot directory of your clone and checkout the master branch
git checkout master
the new branch will be a copy of the current branch so ensure your clone’s master branch is up-to-date with (aka rebased on) ArduPilot/master. If you have just forked and cloned your repo then it should already be up-to-date.
decide on a branch name and create the new branch. The name is up to you but it can be helpful to choose a short descriptive name. The branch name used for this tutorial is “ardupilot_git_tutorial”.
git checkout -b ardupilot_git_tutorial
Change some code. For this tutorial, open the Tools/GIT_Test/GIT_Success.txt in your preferred text editor, and put your name at the end of the file then save the file
See that you have changed the files by checking the status
git status
Stage and Commit your work to the branch to record your changes to your clone
git add Tools/GIT_Test/GIT_Success.txt
git commit -m 'Tools: added name to GIT_Success.txt'
In this case, the subject line of the commit is simply “Tools: added name to GIT_Success.txt” but see here for more detailed information on conventions for commits that you expect to be integrated into ArduPilot/master.
Push the new branch from your local clone to your fork on GitHub. This will copy your work on your local branch to a new branch on GitHub. Pushing branches is a precondition for collaborating with others on GitHub or for submitting patches back to the official releases. It is assumed “origin” is the remote name of your fork on GitHub
git push origin HEAD:ardupilot_git_tutorial
Congratulations! This is bulk of the normal process you’d follow when working on code to submit back to the official project. The next step is to submit a pull request so your changes can be considered for addition to the main project.
GitHub GUI specific instructions
In the Github GUI you used to clone the repository, you can create a branch and commit it.
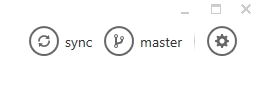
Create a branch. In the GitHub for Windows application, click on the ‘master’ button in the upper right corner of the window.
Enter ‘ardupilot_git_tutorial’ and click the “+ create branch: ardupilot_git_tutorial” dropdown.
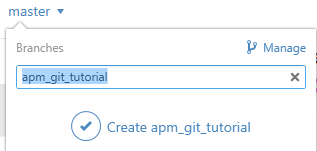
Create a new branch in Github for Windows
Change some code. For this tutorial, open the Tools/GIT_Test/GIT_Success.txt in your preferred text editor, and put your name at the end of the file. Save the file.
The Git for Windows client shows the changed file and has a place where you can enter a summary and description of the change. For the purpose of this tutorial, you can just use a single line stating: “Tools: added name to GIT_Success.txt”
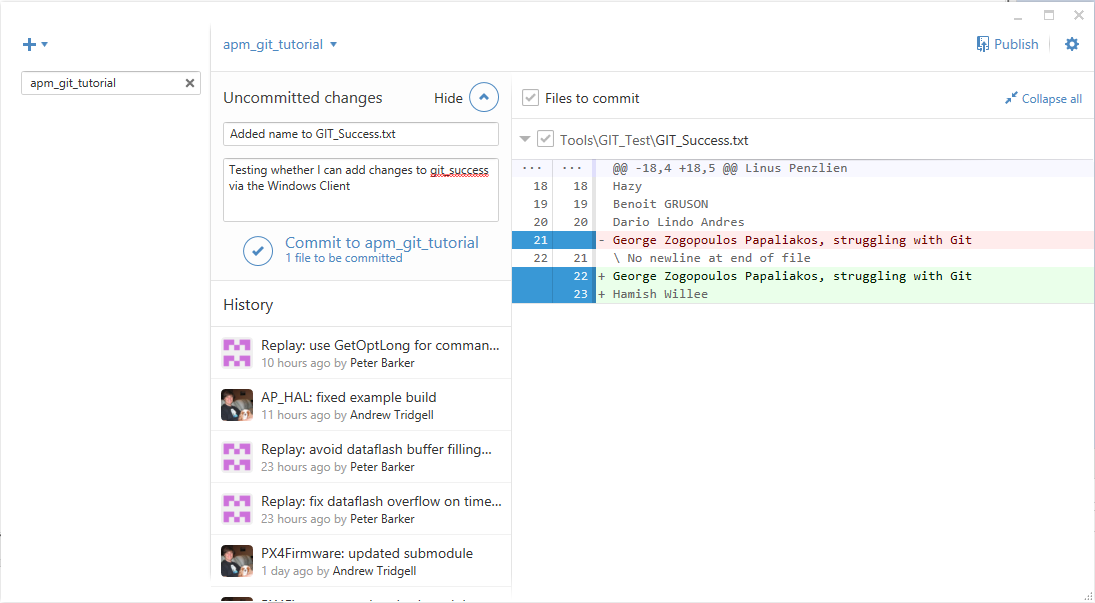
Github for windows: Commit Change
Note
- Please see Submitting Patches Back to Master for further
information regarding conventions for committing work that you expect to be integrated into the official releases (this will include a much more detailed commit message).
Commit your work to the branch by pressing the Commit to ardupilot_git_tutorial link.
Push your local branch to GitHub (pushing branches is a precondition for collaborating with others on GitHub or for submitting patches back to the official releases). In the client you can do this by pressing the Publish link:
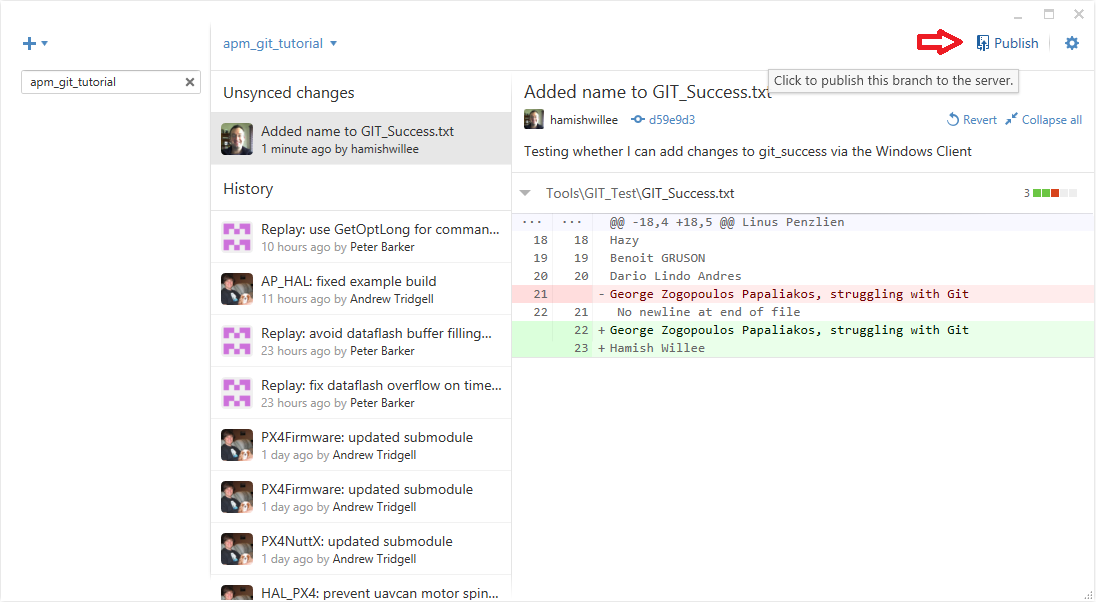
GitHub for Windows Client: Pushing changes